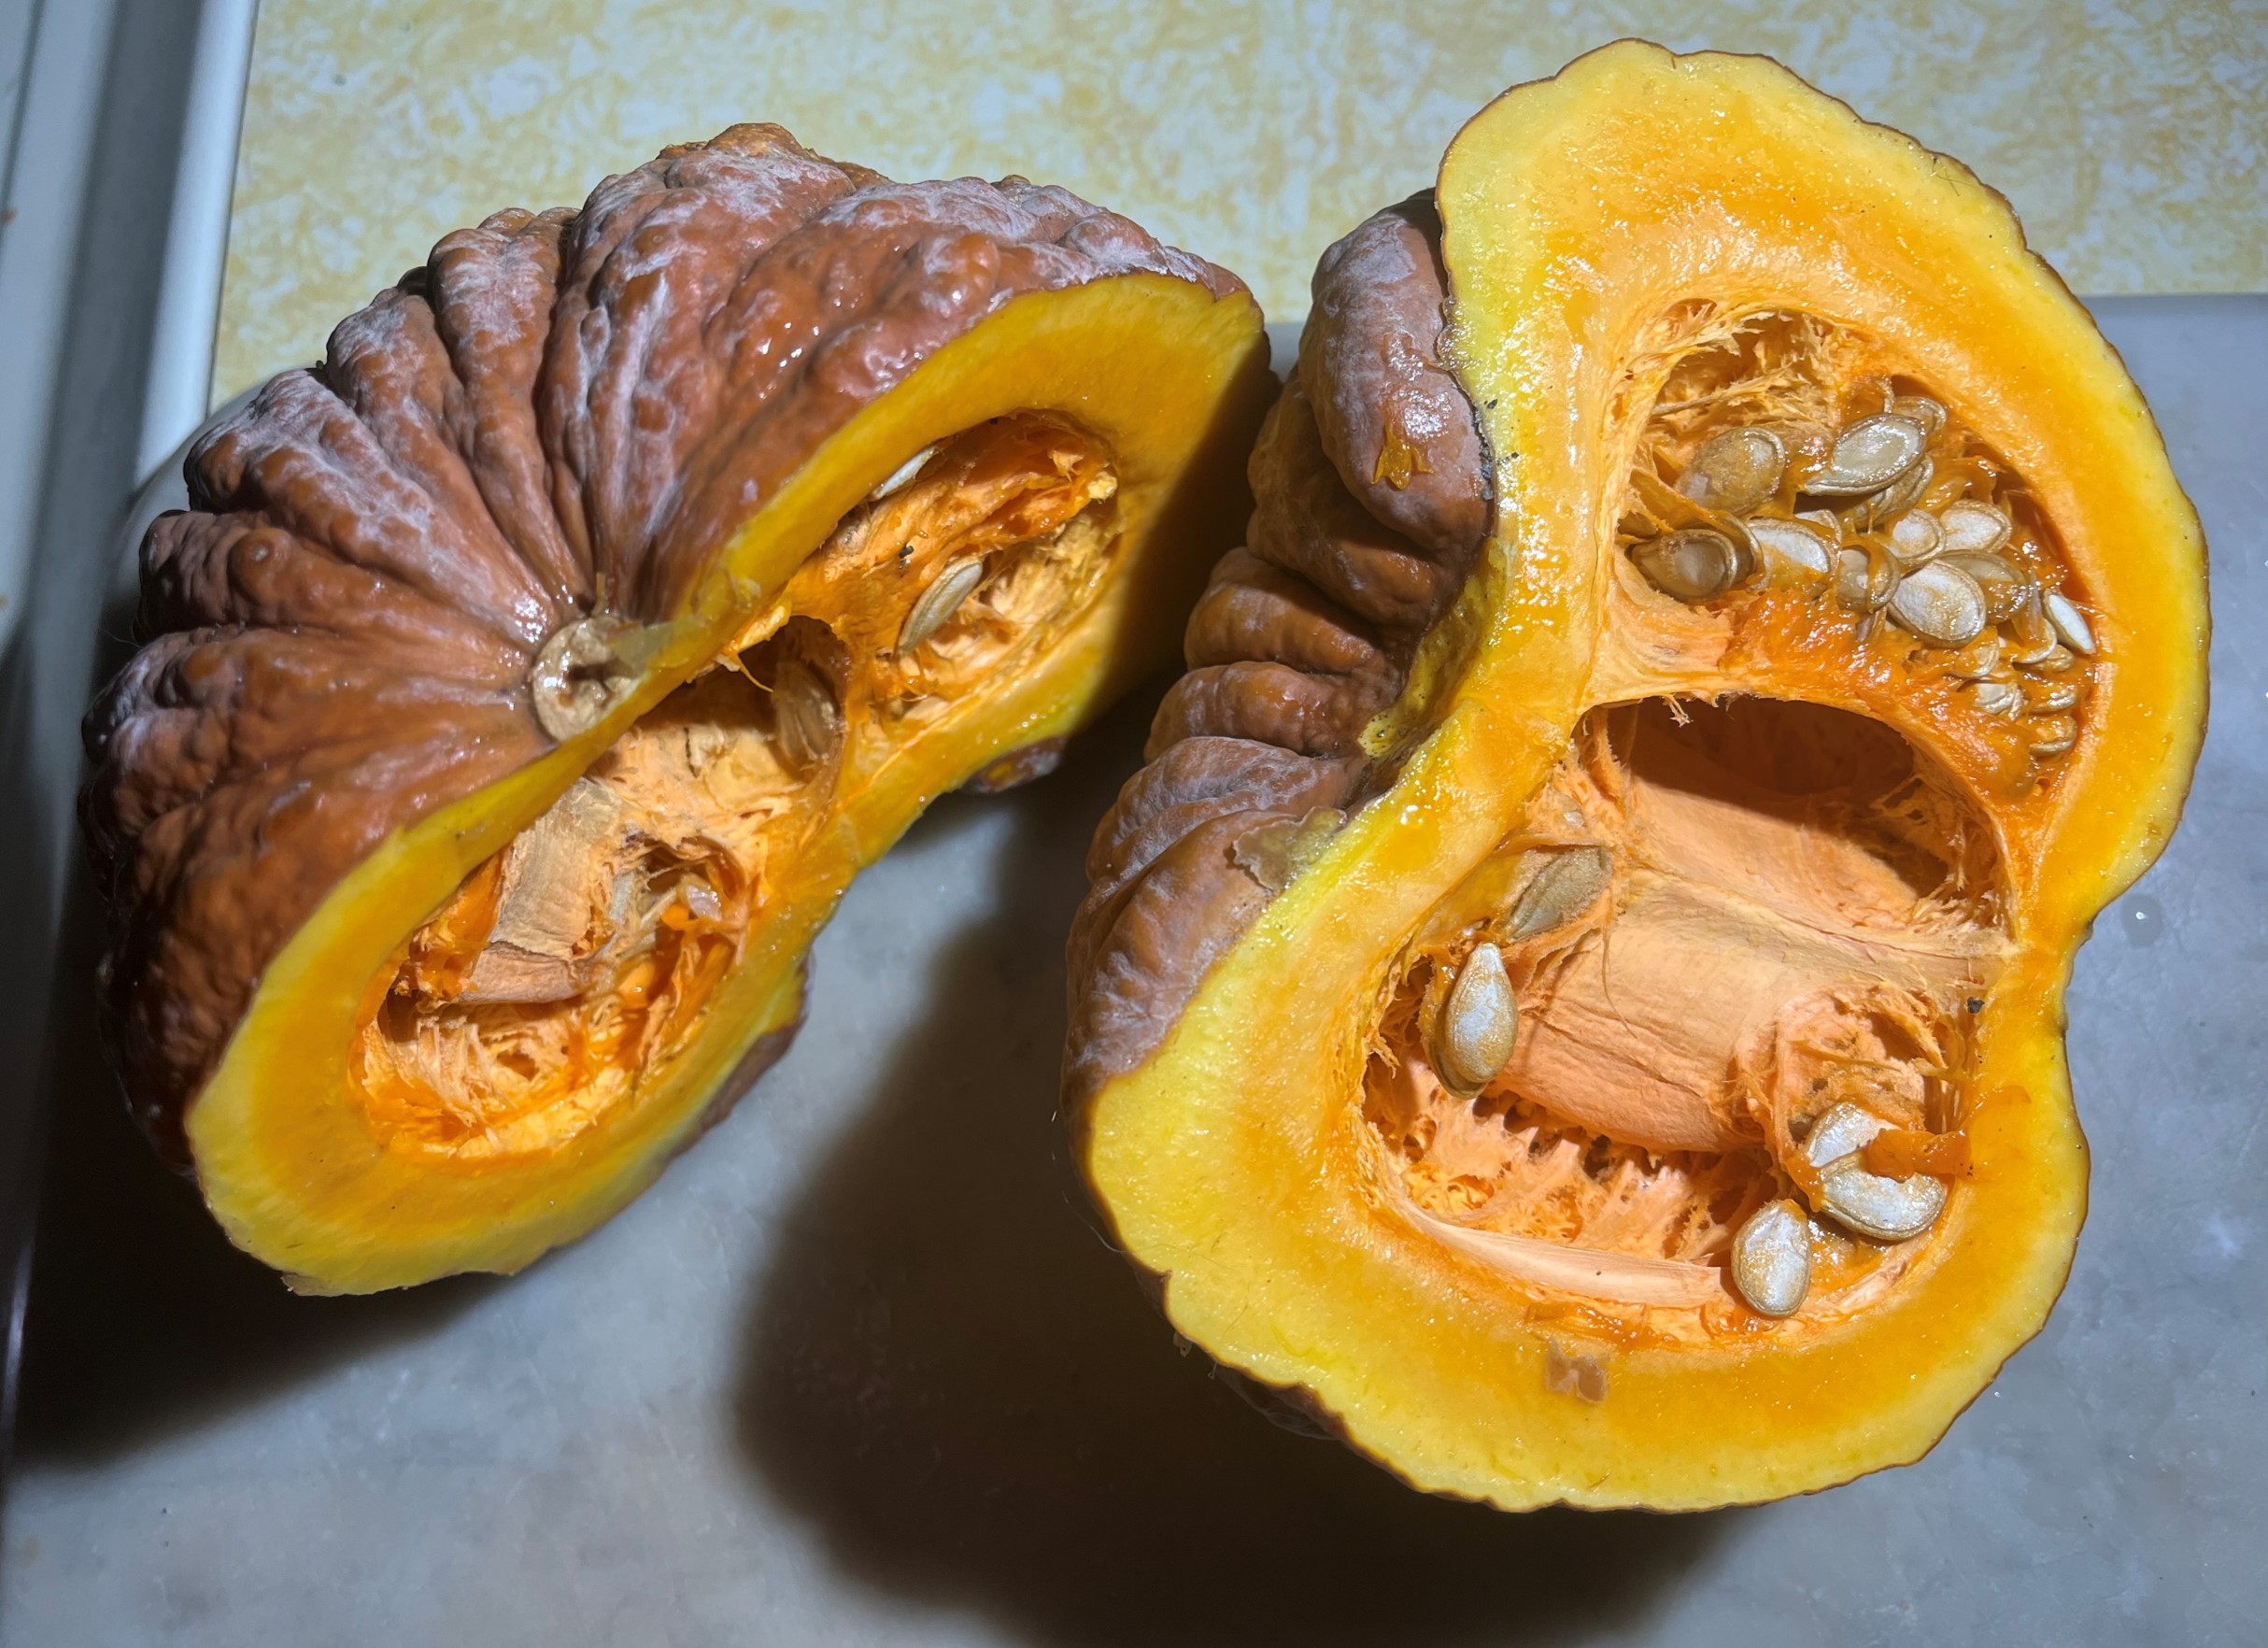
Rare Japanese Futsu Squash harvested from our back yard:
Is it art or nutrition? Can something be too beautiful to eat?
In 2021 I embarked on a journey of self-discovery learning how to grow food for myself and my family. This decision came after spending a year detoxing from mercury poisoning due to amalgam fillings. As a Crohns sufferer this poisoning had exacerbated already limited food sensitivities. Leading up to taking this big leap I explored as much information as I could about how environmental factors effect the nutrient value of the food we eat. I was shocked to find out that in Franklin County, PA we were 12th in the state for fluoridation levels. Fluoride is a powerful neurotoxin that can cause all sorts of health issues. In addition our county reprocesses wastewater using chlorine and other chemicals to make the water safe. In my research I came across an excellent documentary called “Biosludged” which documents how the EPA has modified pollution rules for industrial waste and human sewage allowing even advertised organic soils to be tainted. This was of great concern and certainly a revelation.
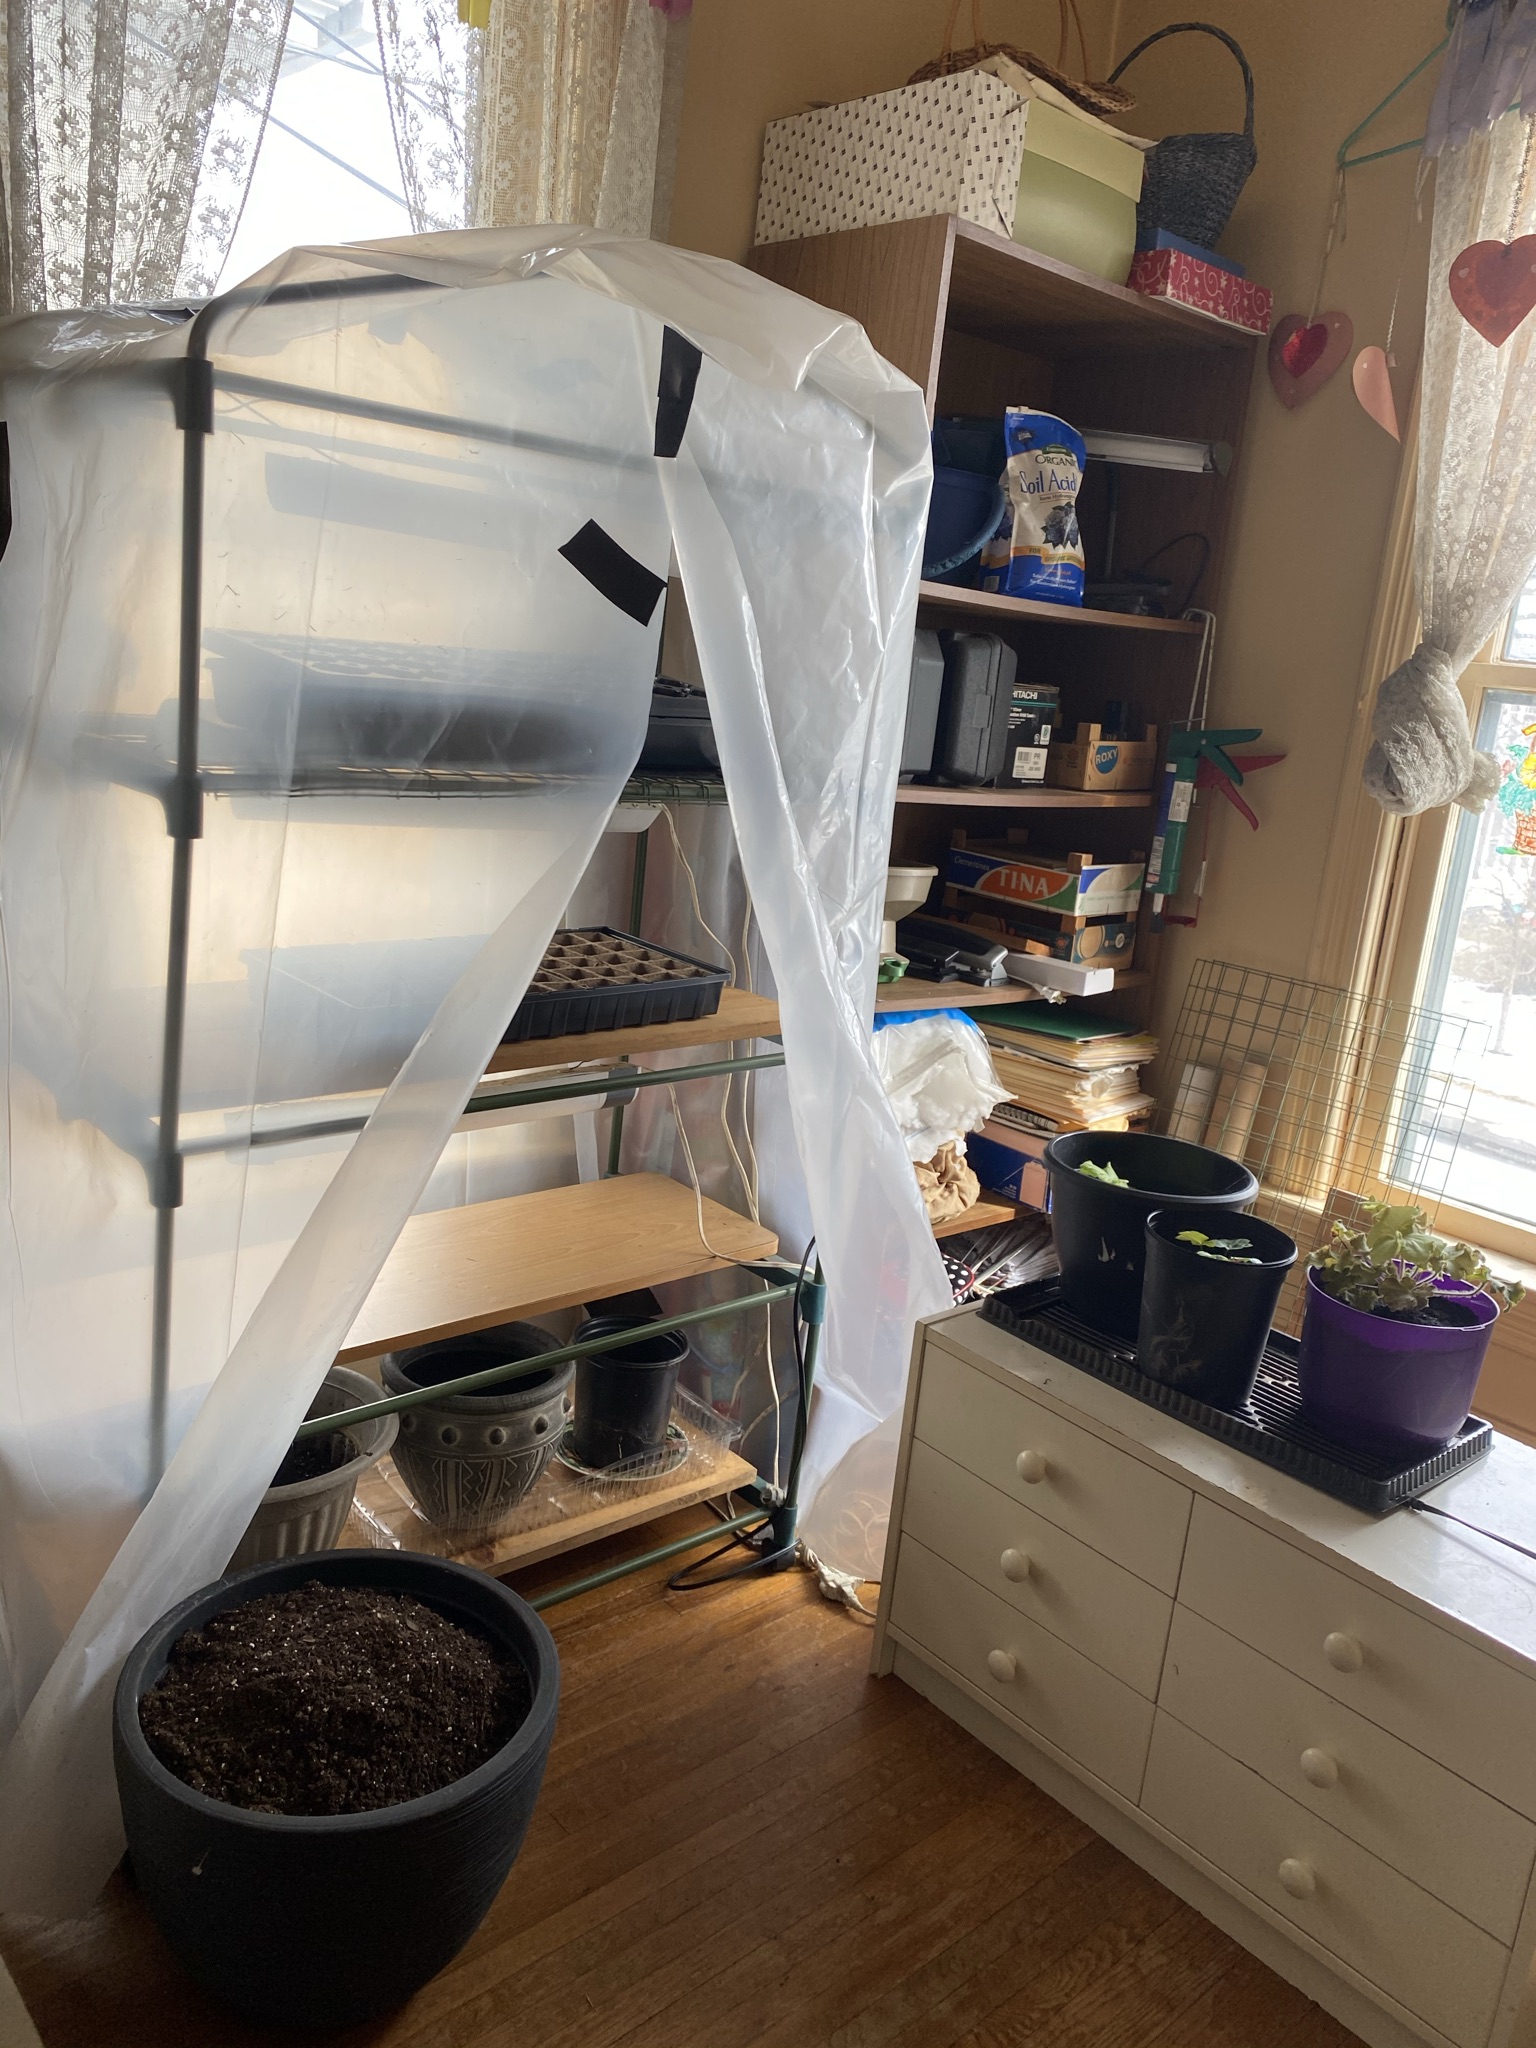
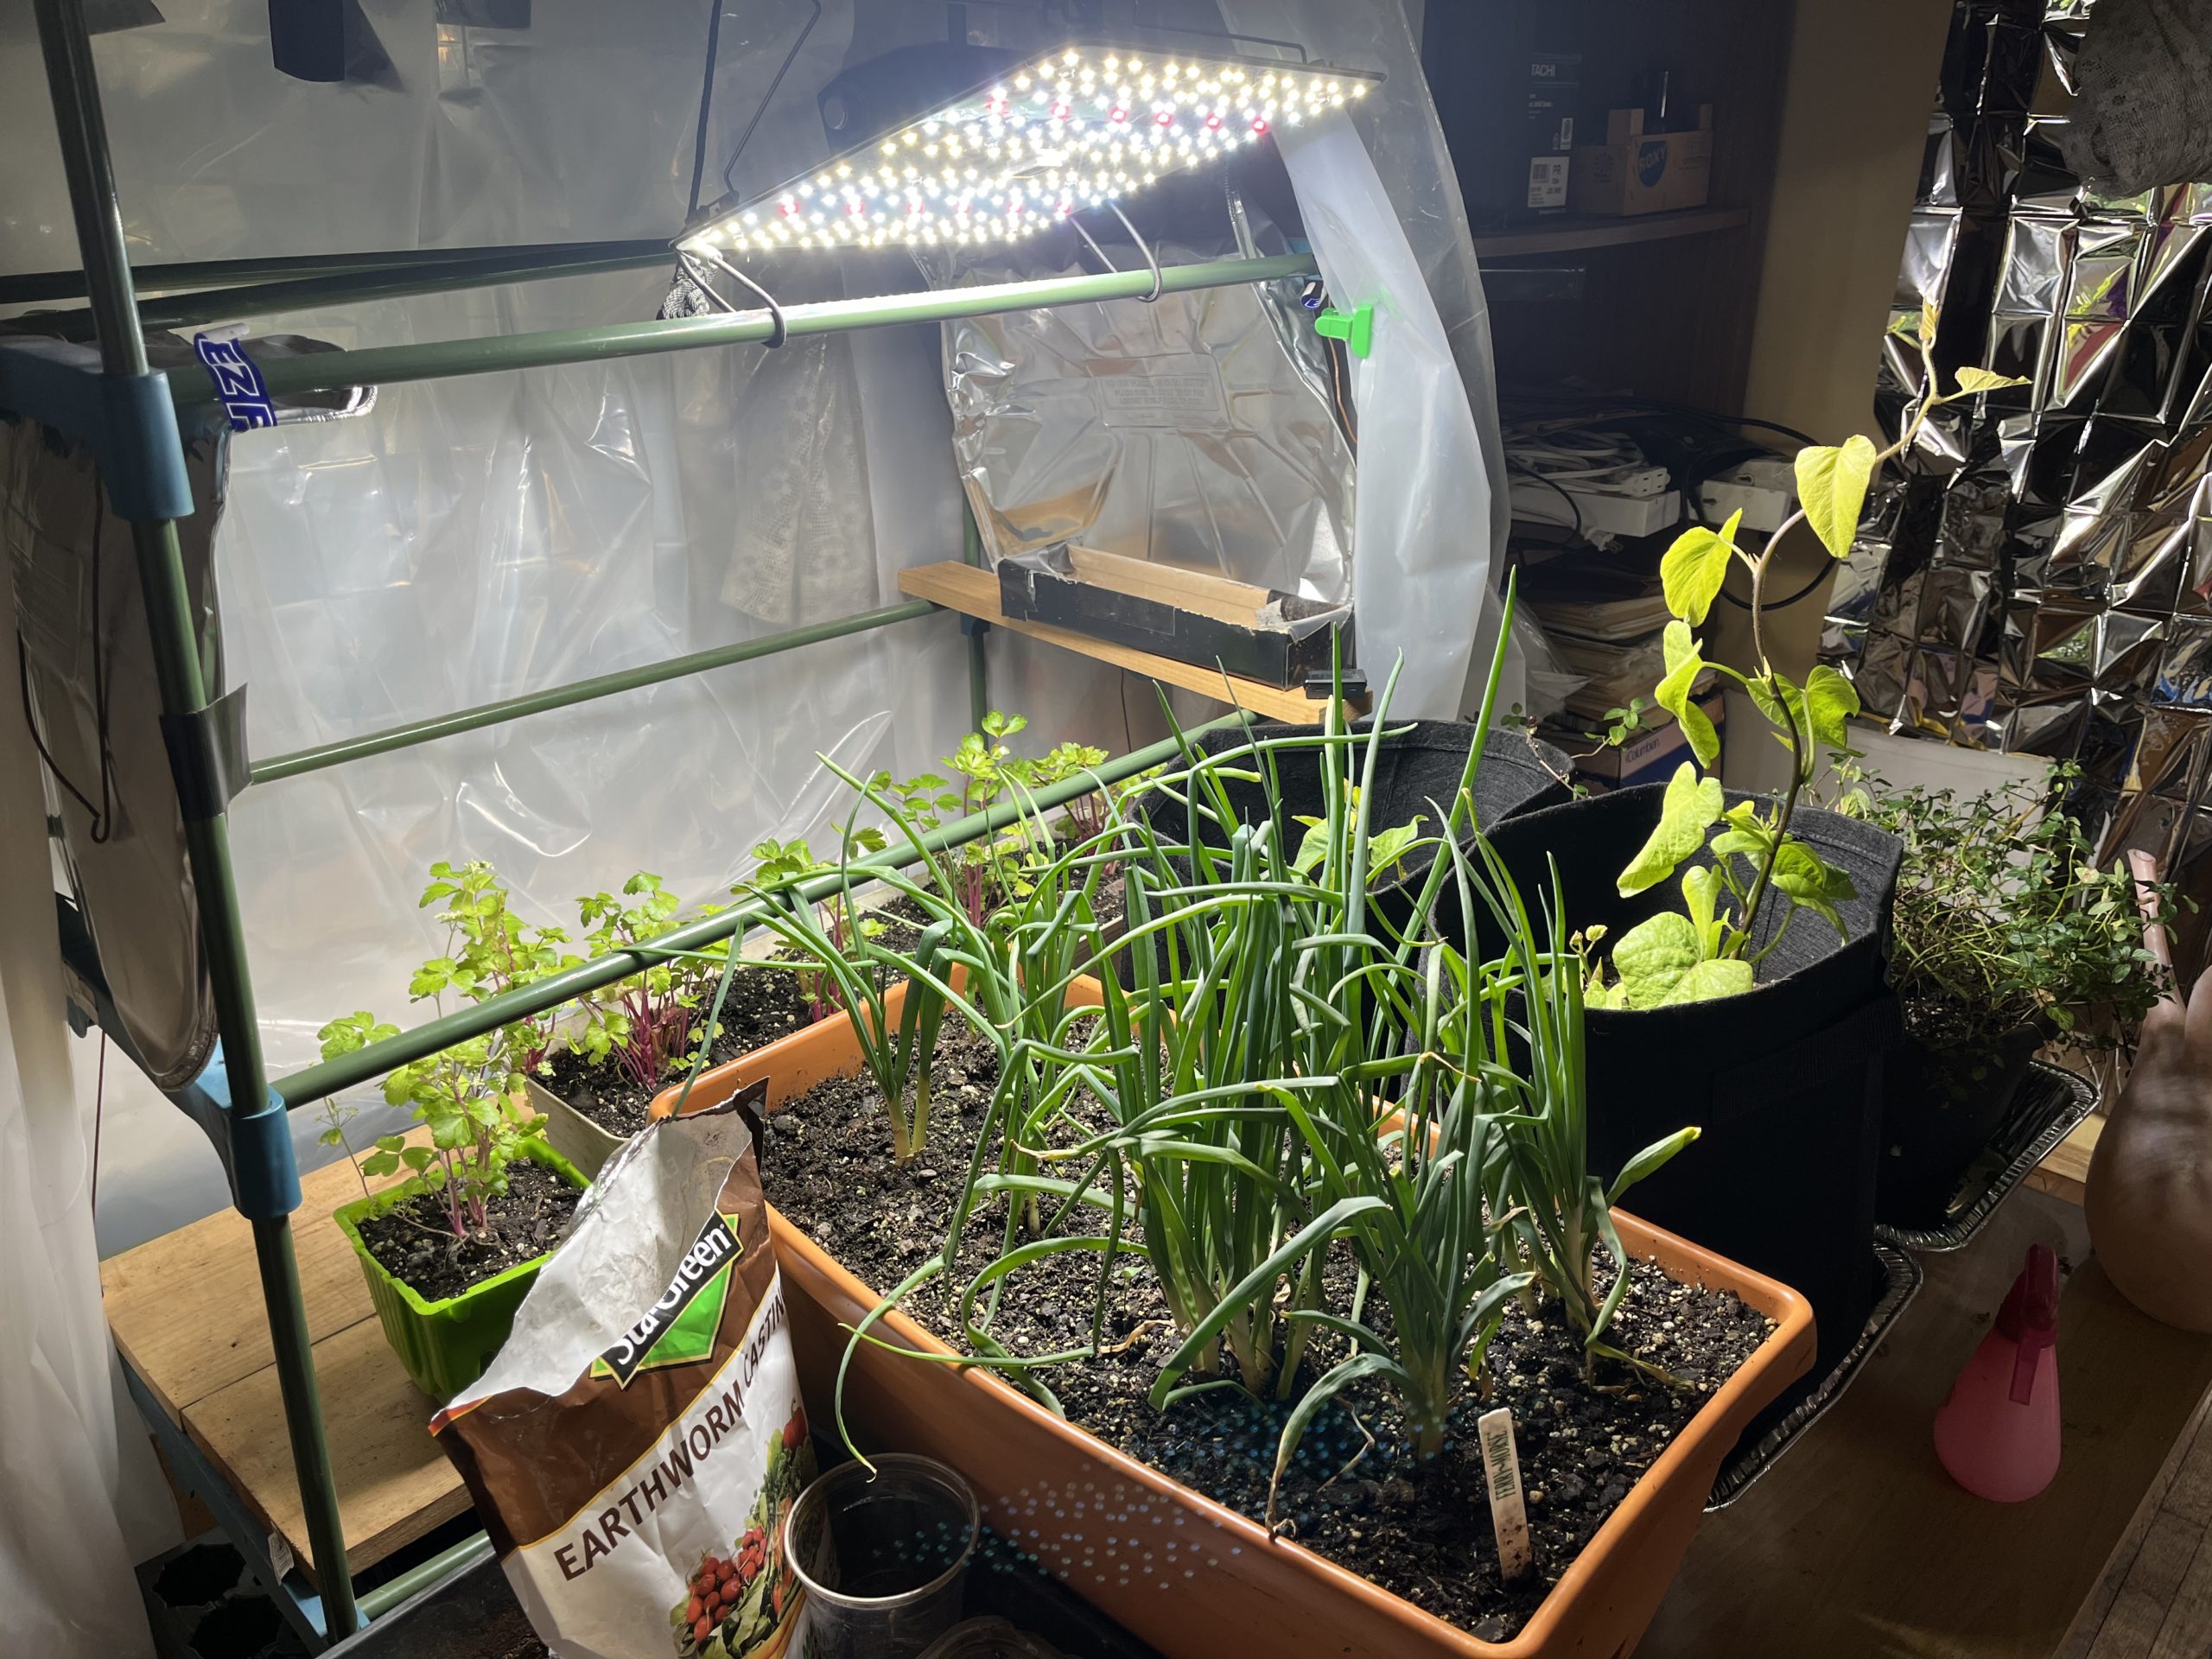
Armed with this knowledge in January of 2021 I unearthed a 15 year old 4 shelf greenhouse frame from our dank basement. The plastic cover had long since been destroyed. I was determined to repurpose this old frame and get some seeds started for the coming Spring. I dragged it upstairs to the smallest bedroom in our old house and draped it in 6mil plastic from Lowes. Years ago I had rigged standard fluorescent lights to the frame which were still intact so I thought time to get to work. I pulled out my heat mats and got to growing. My results were spotty, but I got enough new plants to work with coming into Spring. My go to non-GMO seed site is called Baker Creek. It is a phenomenal site with an incredible variety of seeds.
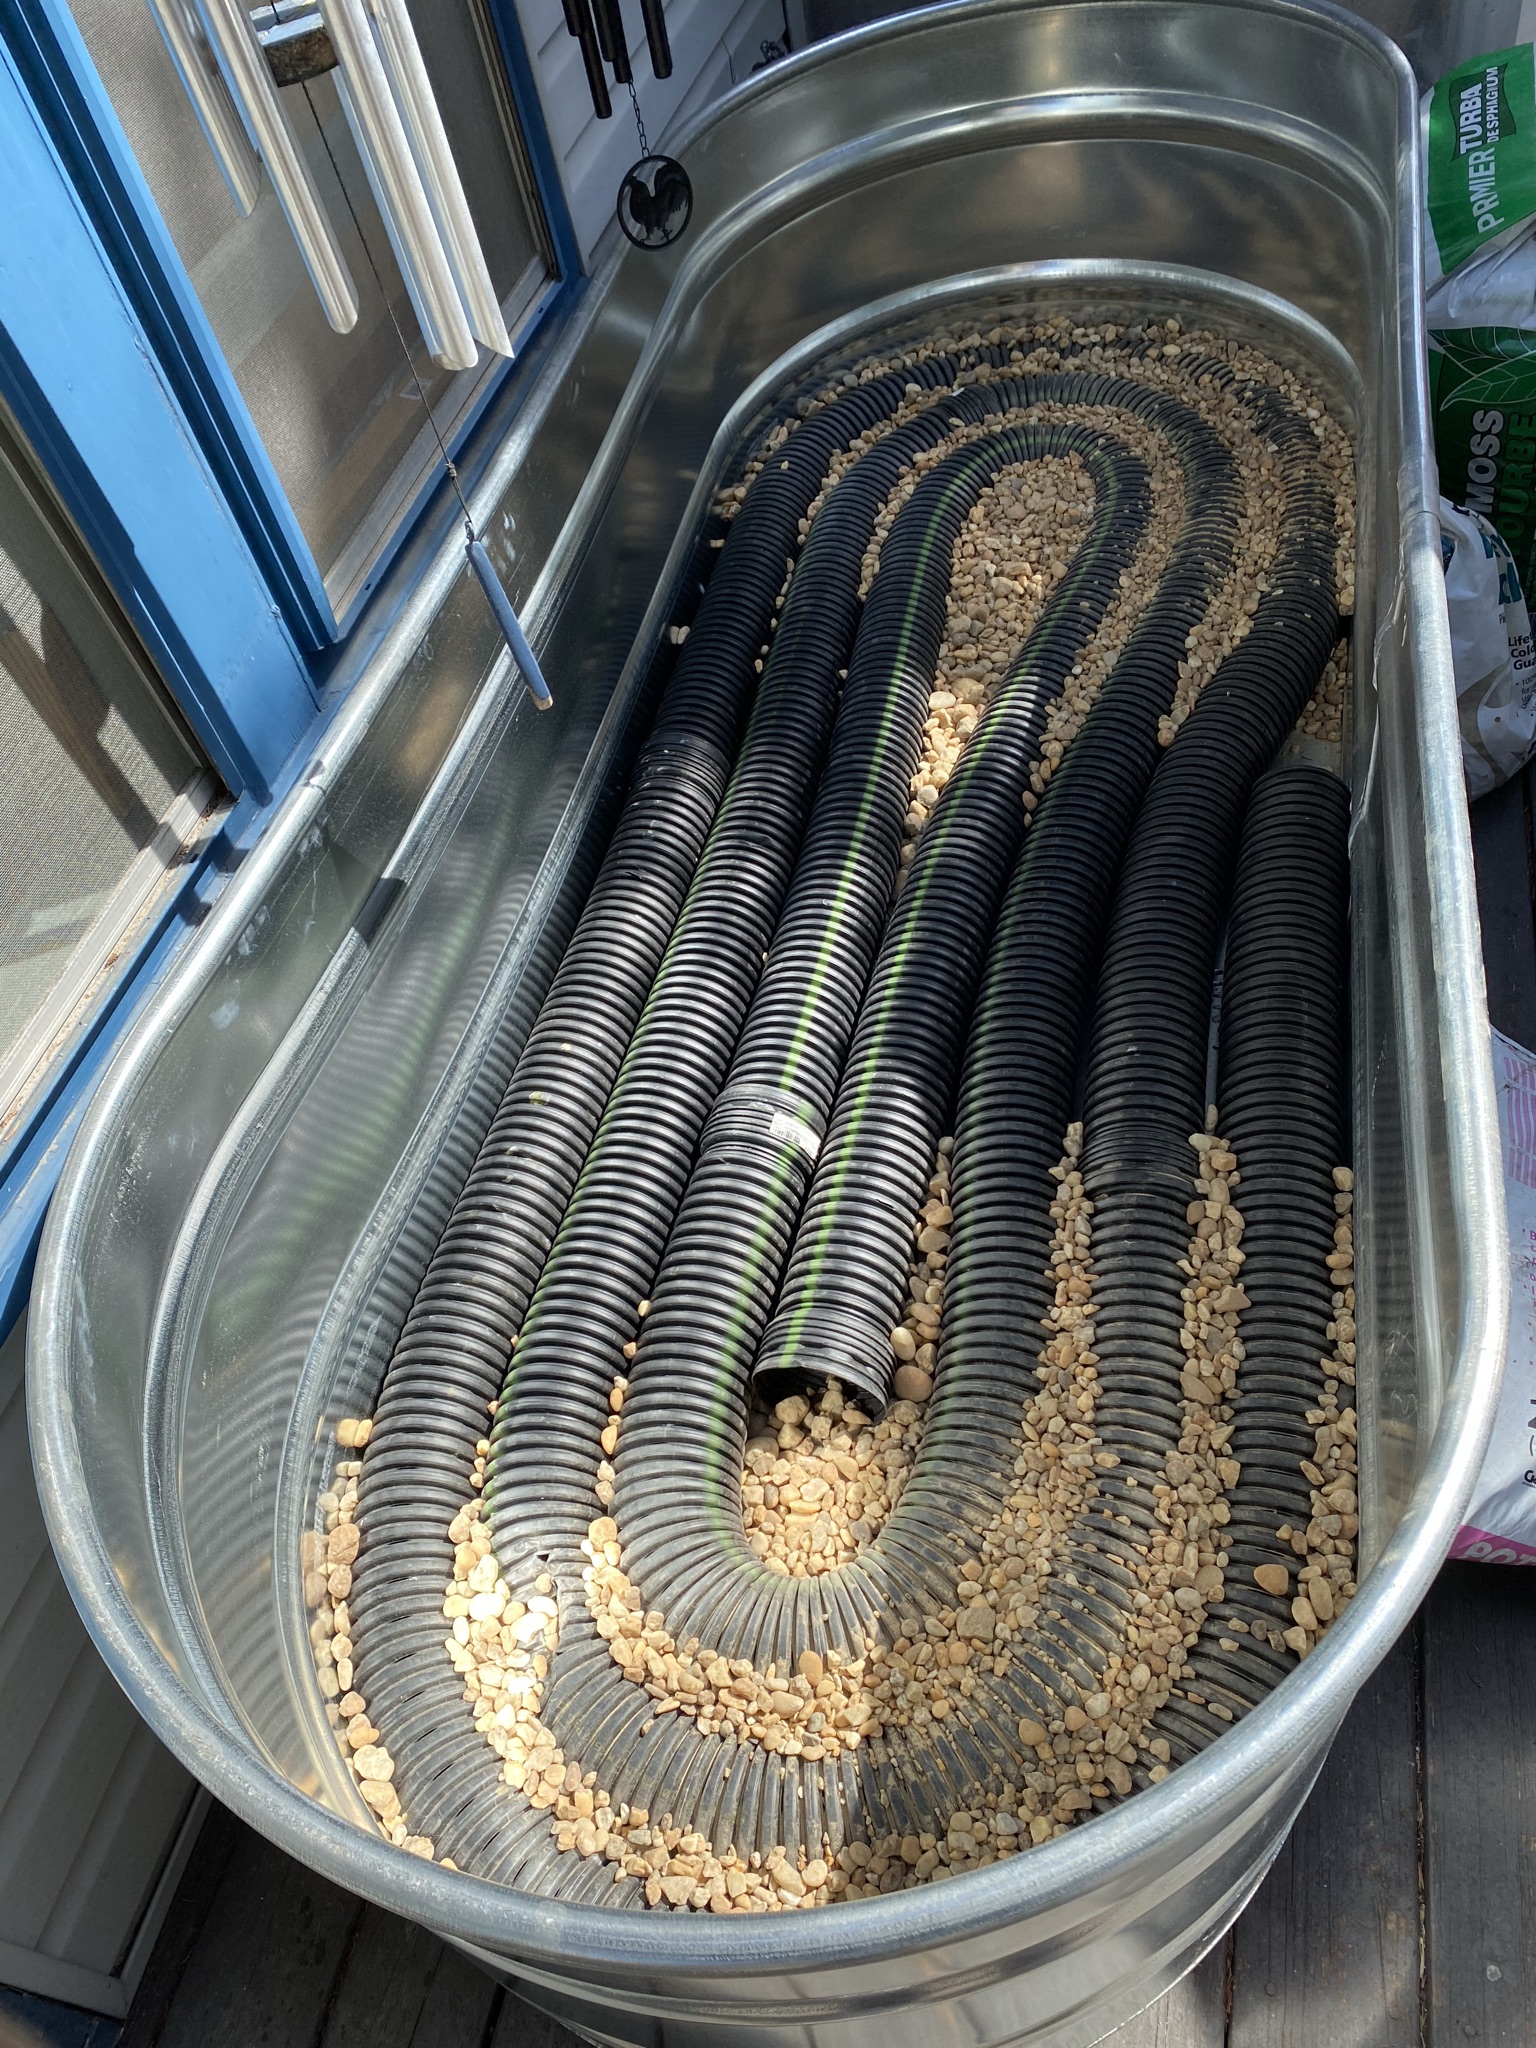
I started my first outdoor growing project in March of 2021 with an 8’x3’ horse trough from Tractor Supply and set it up on my deck. I was fascinated by the idea of making a self-watering trough by using drainage pipe snaked around on the bottom 6” of the trough. I covered the pipe with some drainage rock and then landscape fabric before creating my dirt. Fortunately for me I have access to composted manure at the farm where I board my horses. This is a powerful nitrogen packed nutrient that helps plants grow big and strong. I mixed this with lots of peat moss to make my base soil.
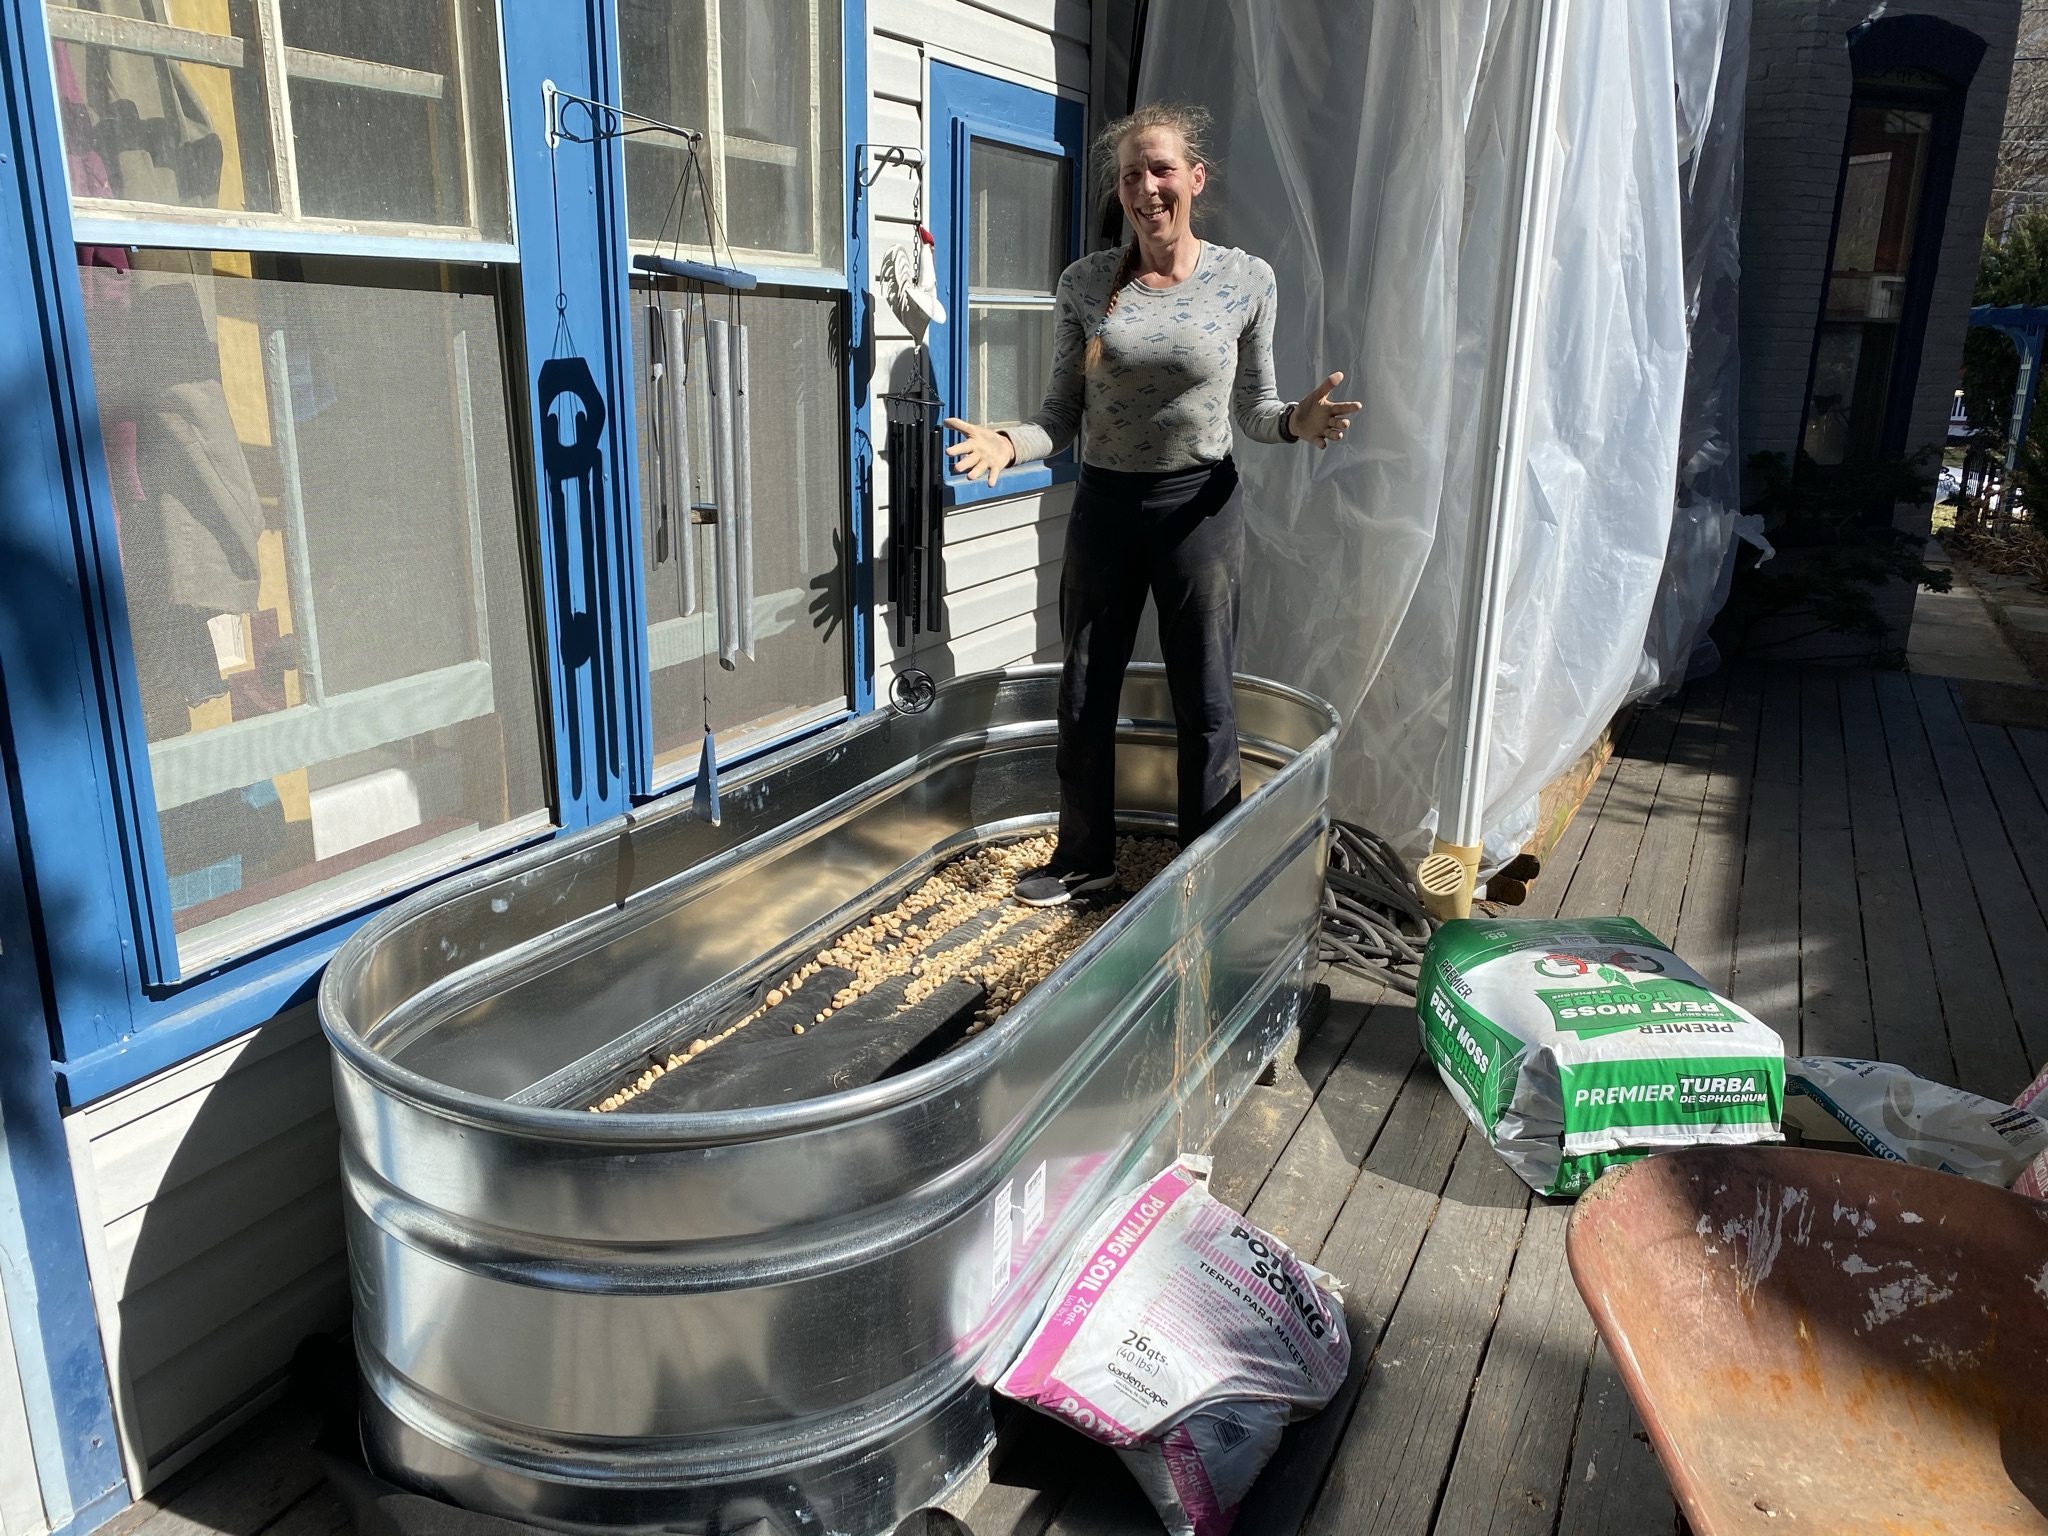
I had grand dreams of growing carrots, beets and onions right outside my kitchen door for the plucking. However, this was not meant to be. It became apparent that the sunlight that donned my deck was not sufficient enough to produce the bounty I had dreamed of. It did prove to be an excellent growing environment for flat leaf parsley, thyme, oregano and one of my favorites New Zealand Spinach.
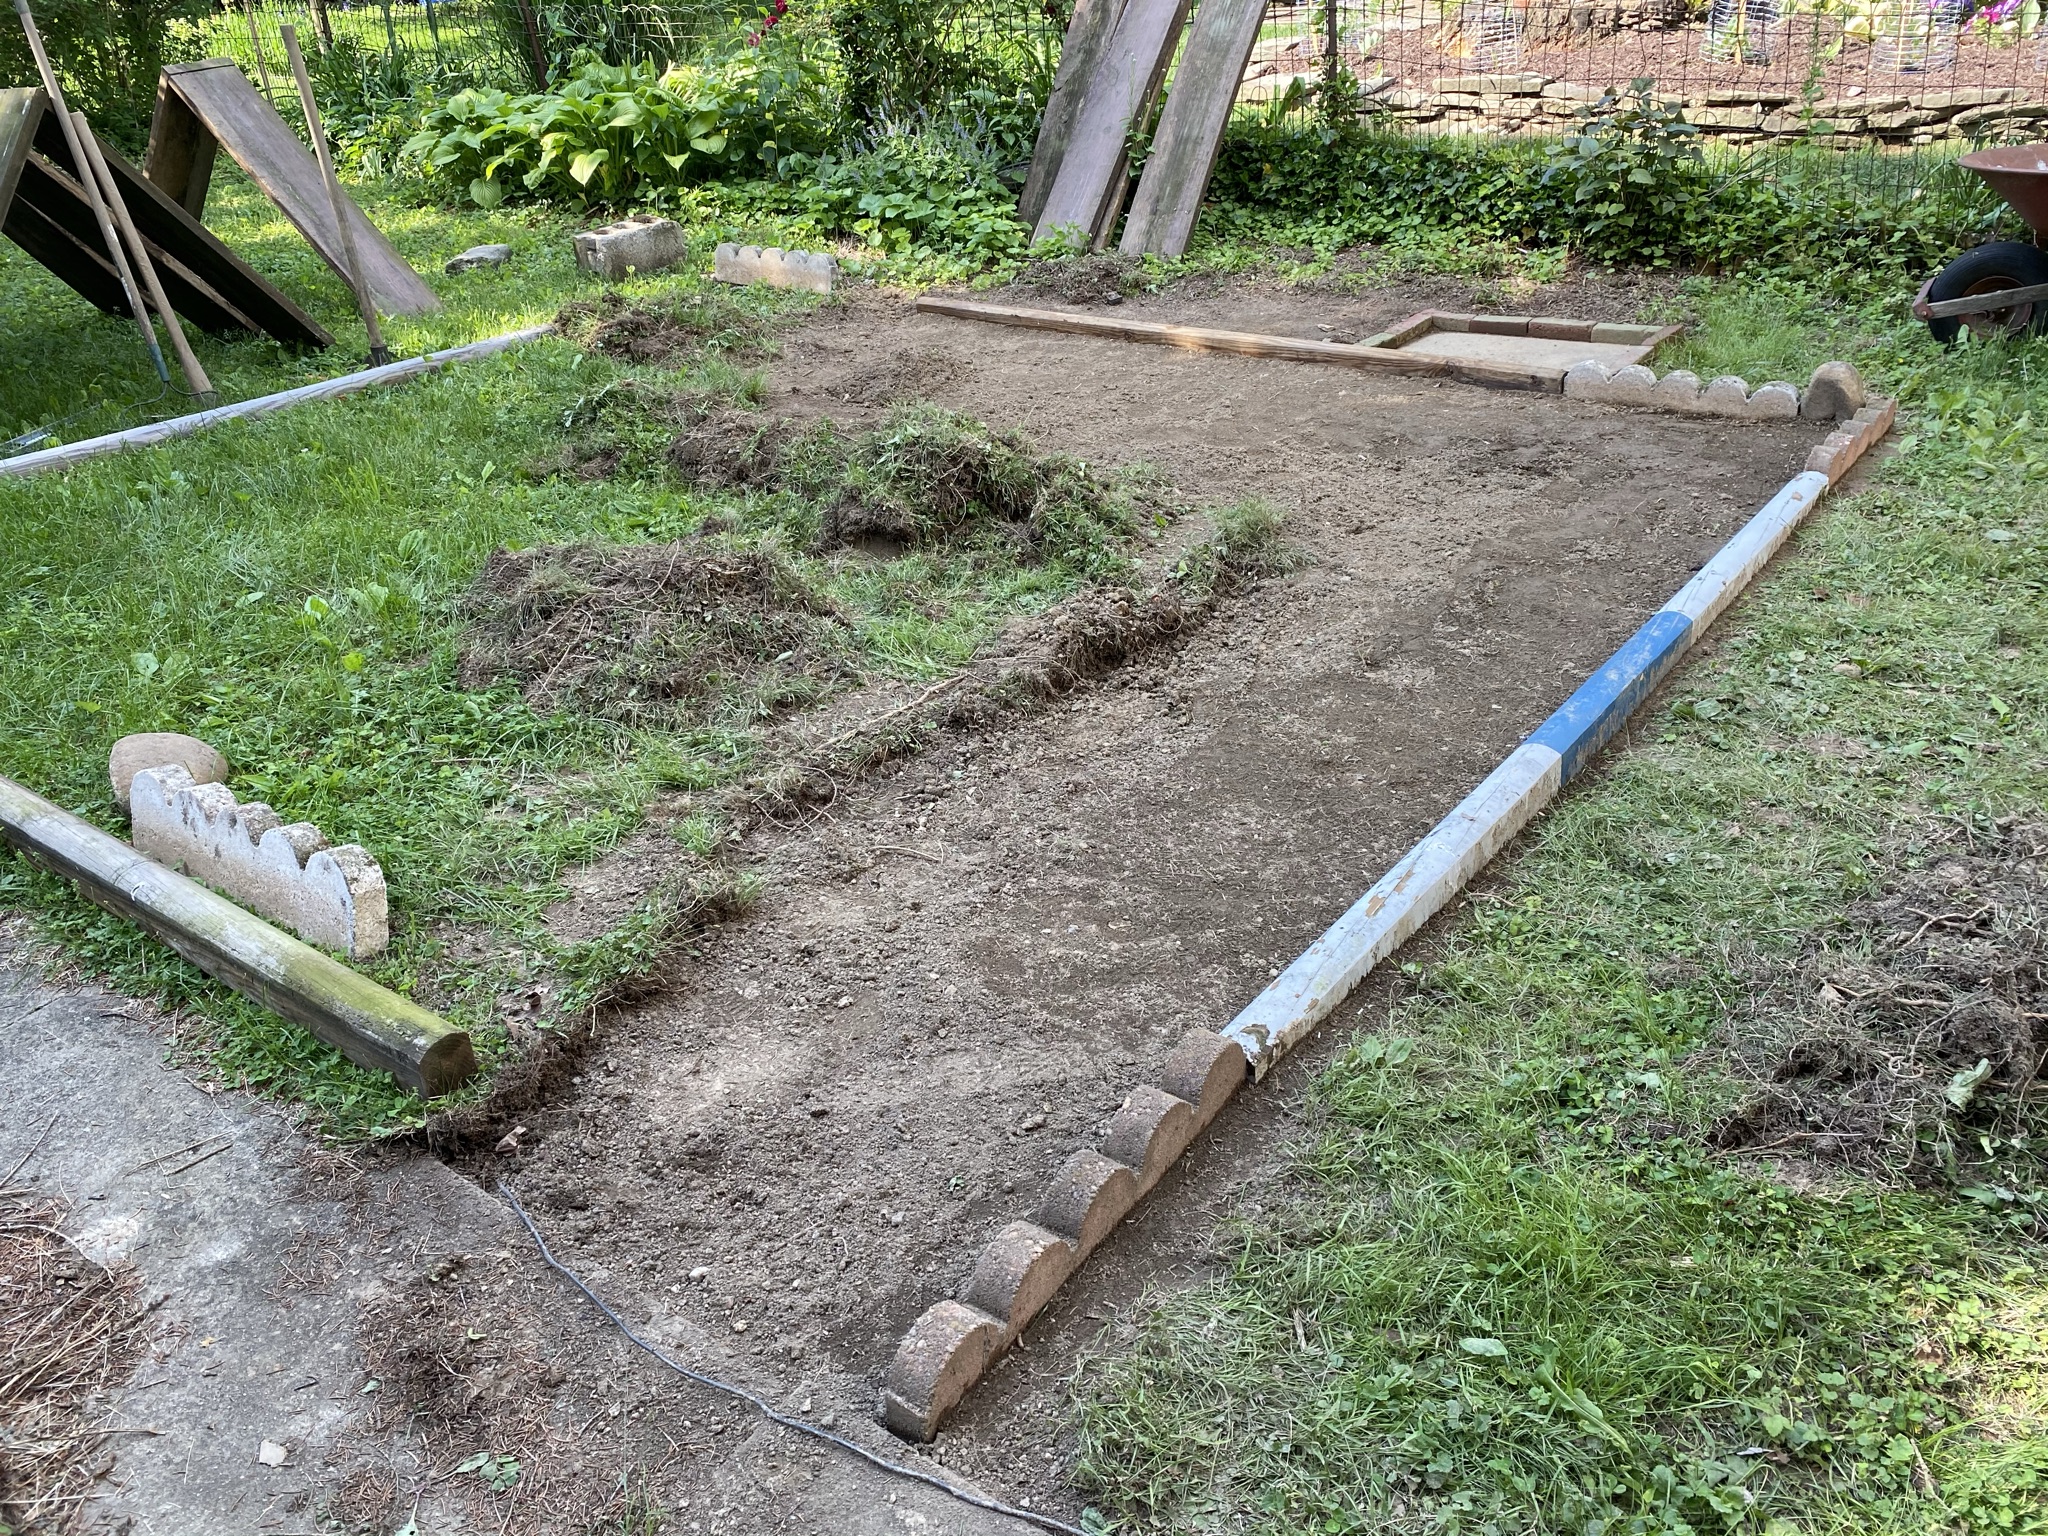
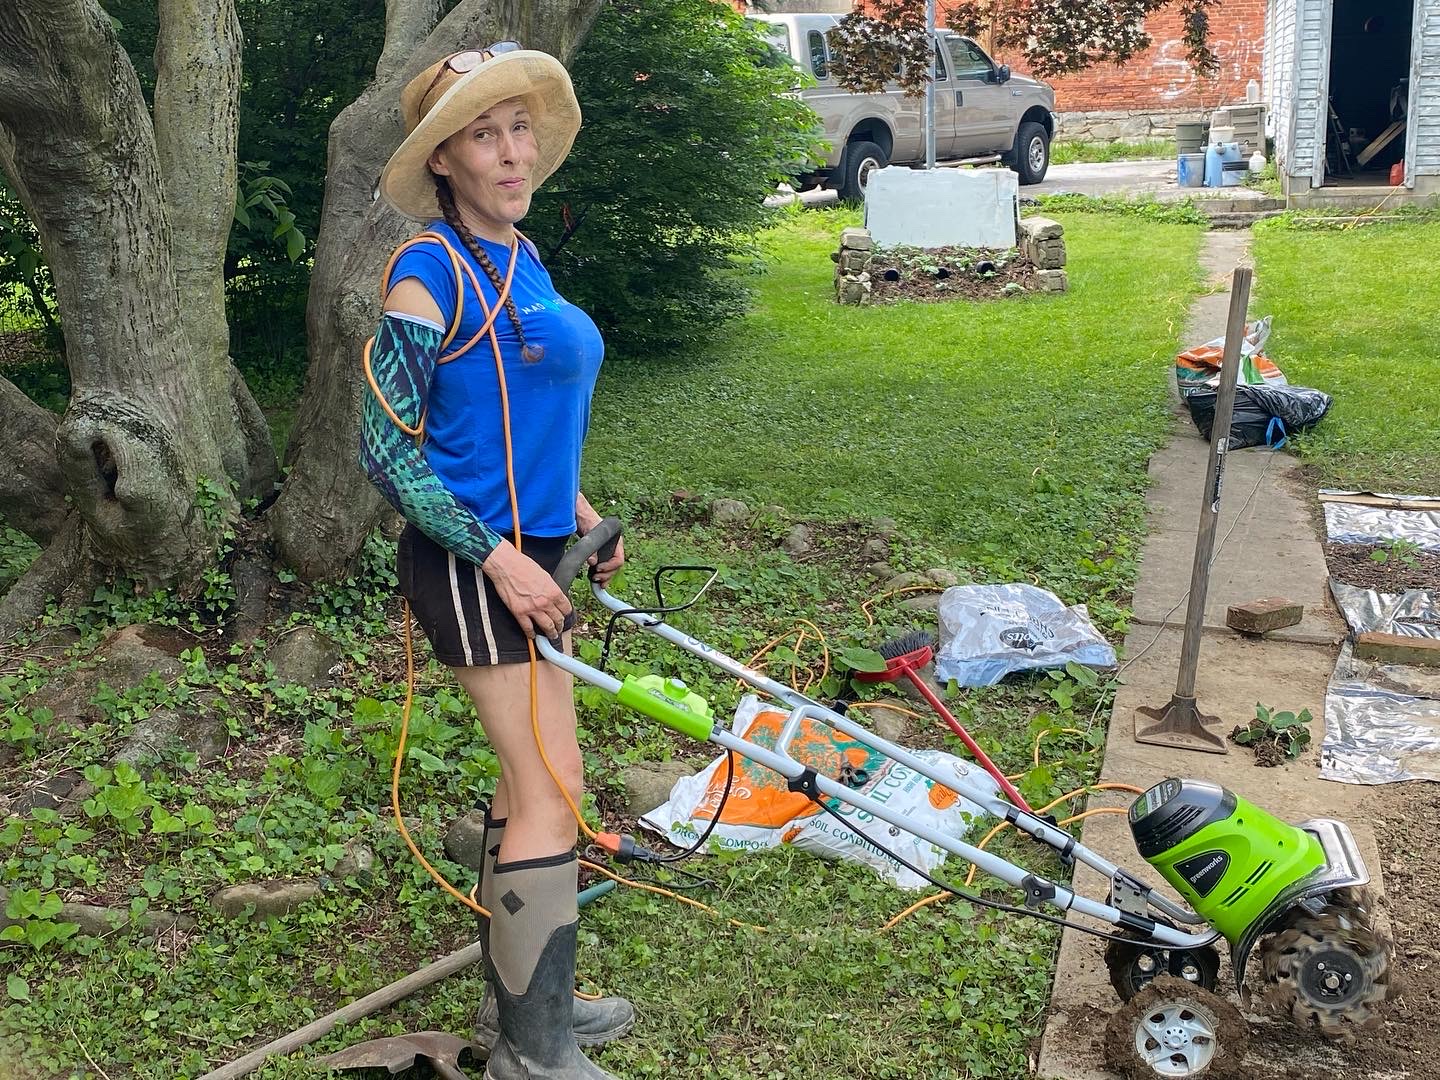
I decided to commandeer a portion of the back yard to create raised beds. My initial goal was to have a drainage rock pad underneath two 8’x4’ raised beds. I repurposed lumber used many years ago for the same purpose. The hardest part of this transformation was pulling up all the sod and leveling the space by hand. The pad measured 12’x13’ and once leveled I used landscape cloth to prevent the weeds. I could see the finished job in my mind and got to work. It was hard chain gang work, but within a week I had cleared and leveled my space.
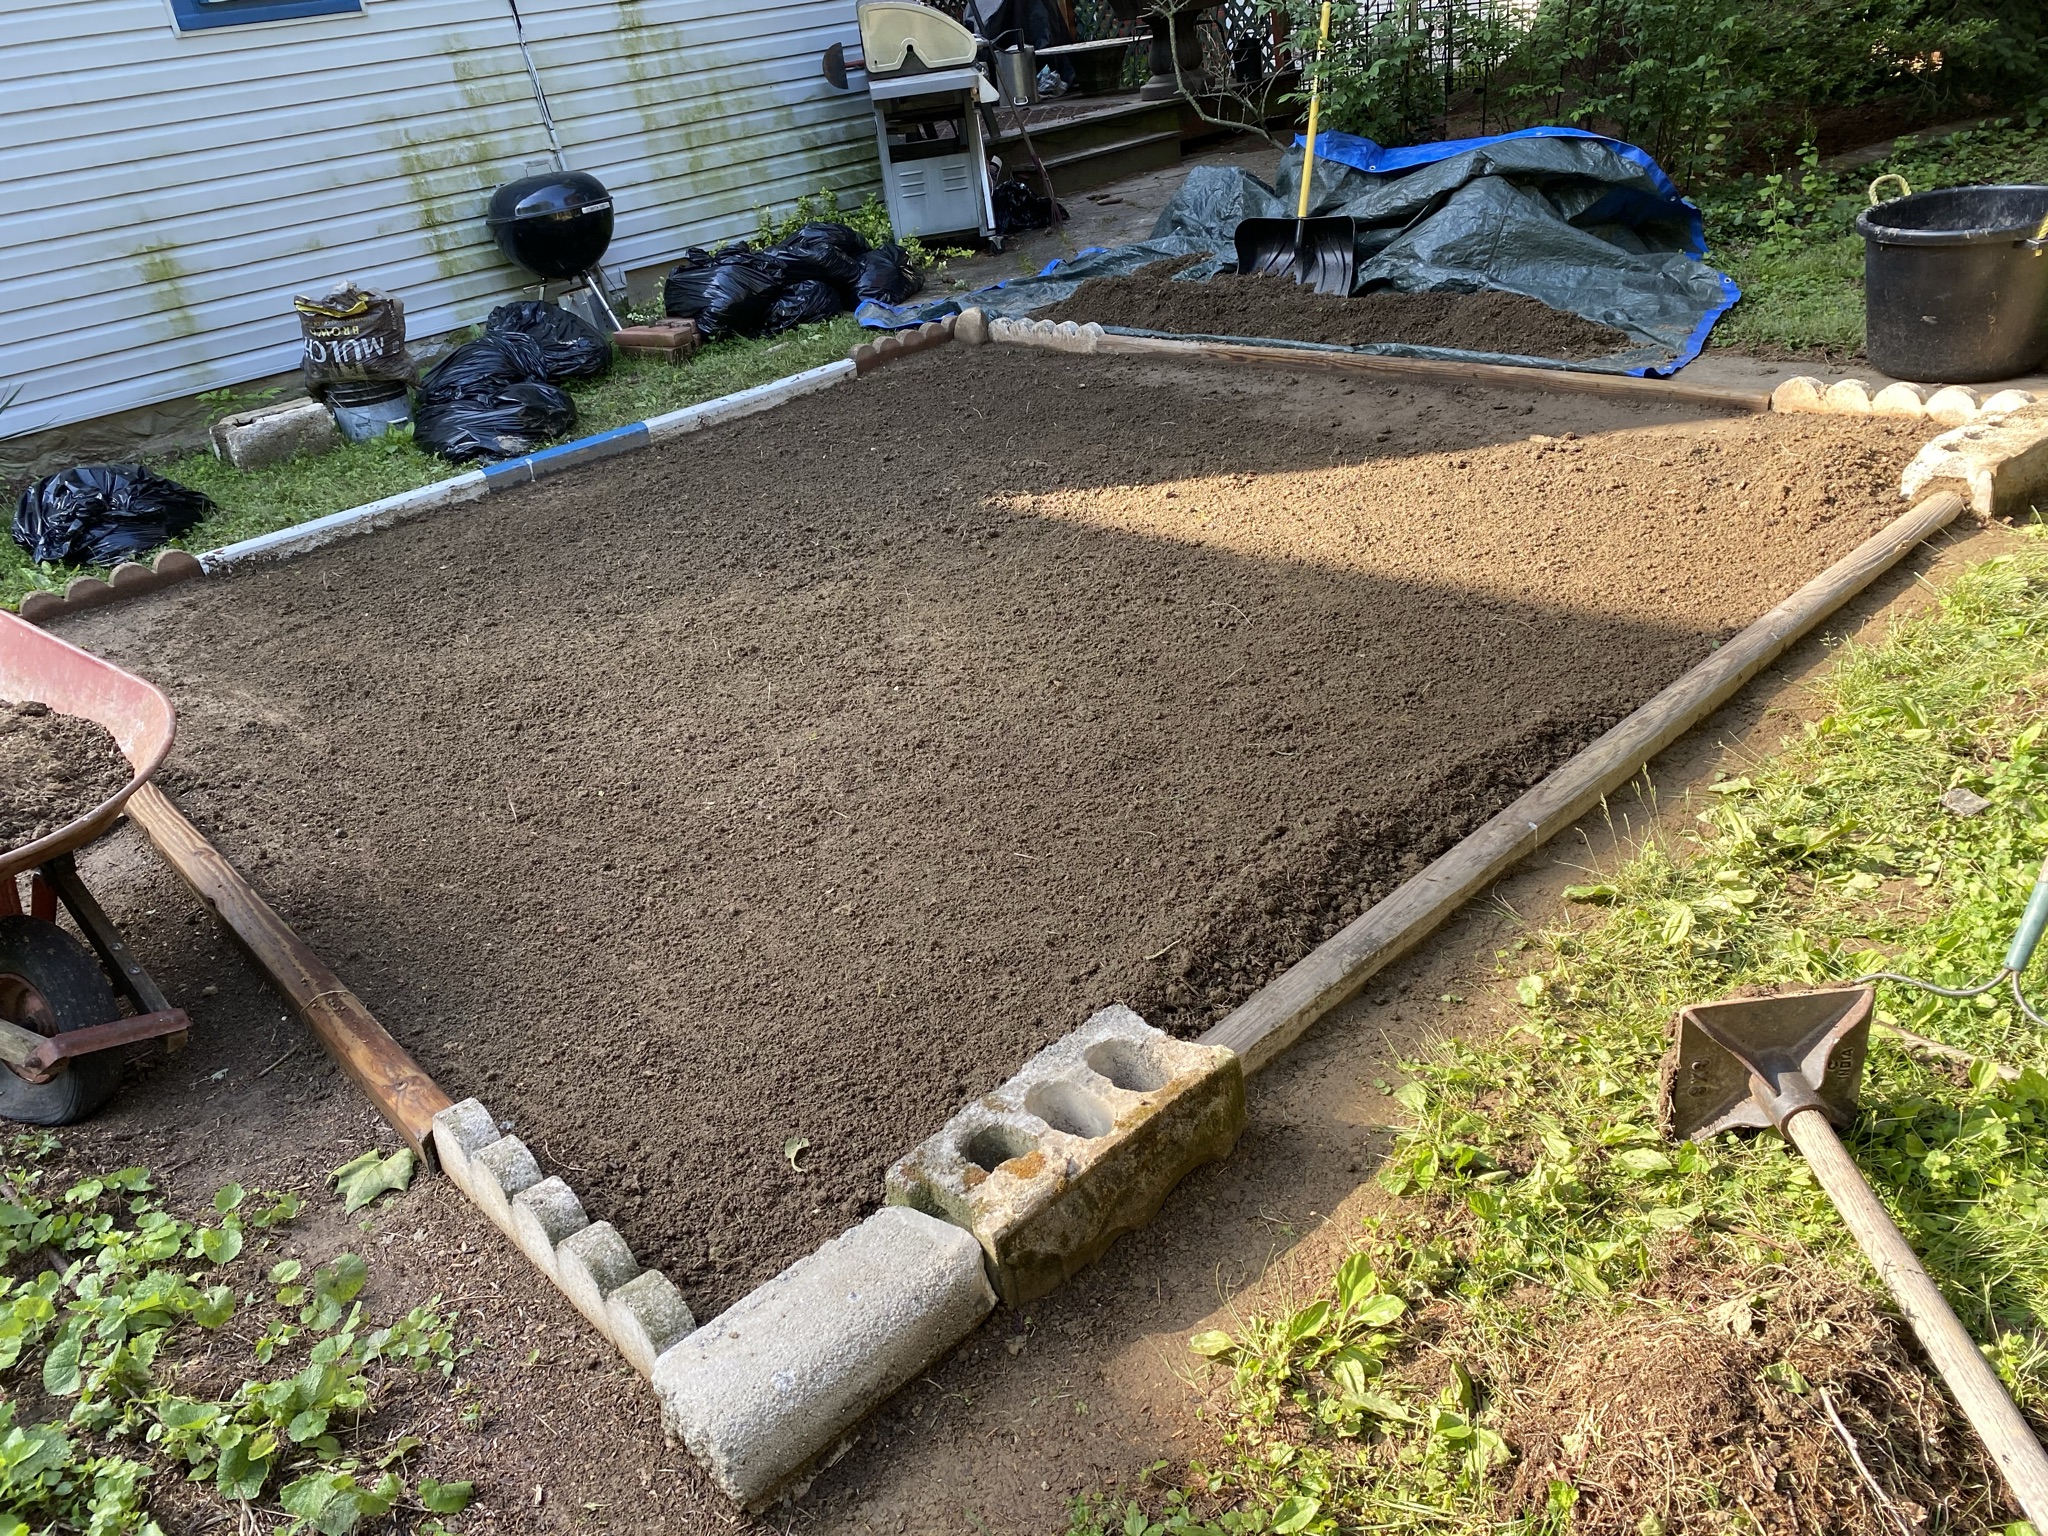
Once the rock pad had been constructed the boxes came together much more easily. However, I felt like I needed one more raised bed to start some green beans and fortunately had a little more lumber to create the final and third raised bed. This extended the growing space all the way to the fence and I used the same rock pad strategy to prevent weeds from poking up into my pristine growing space.
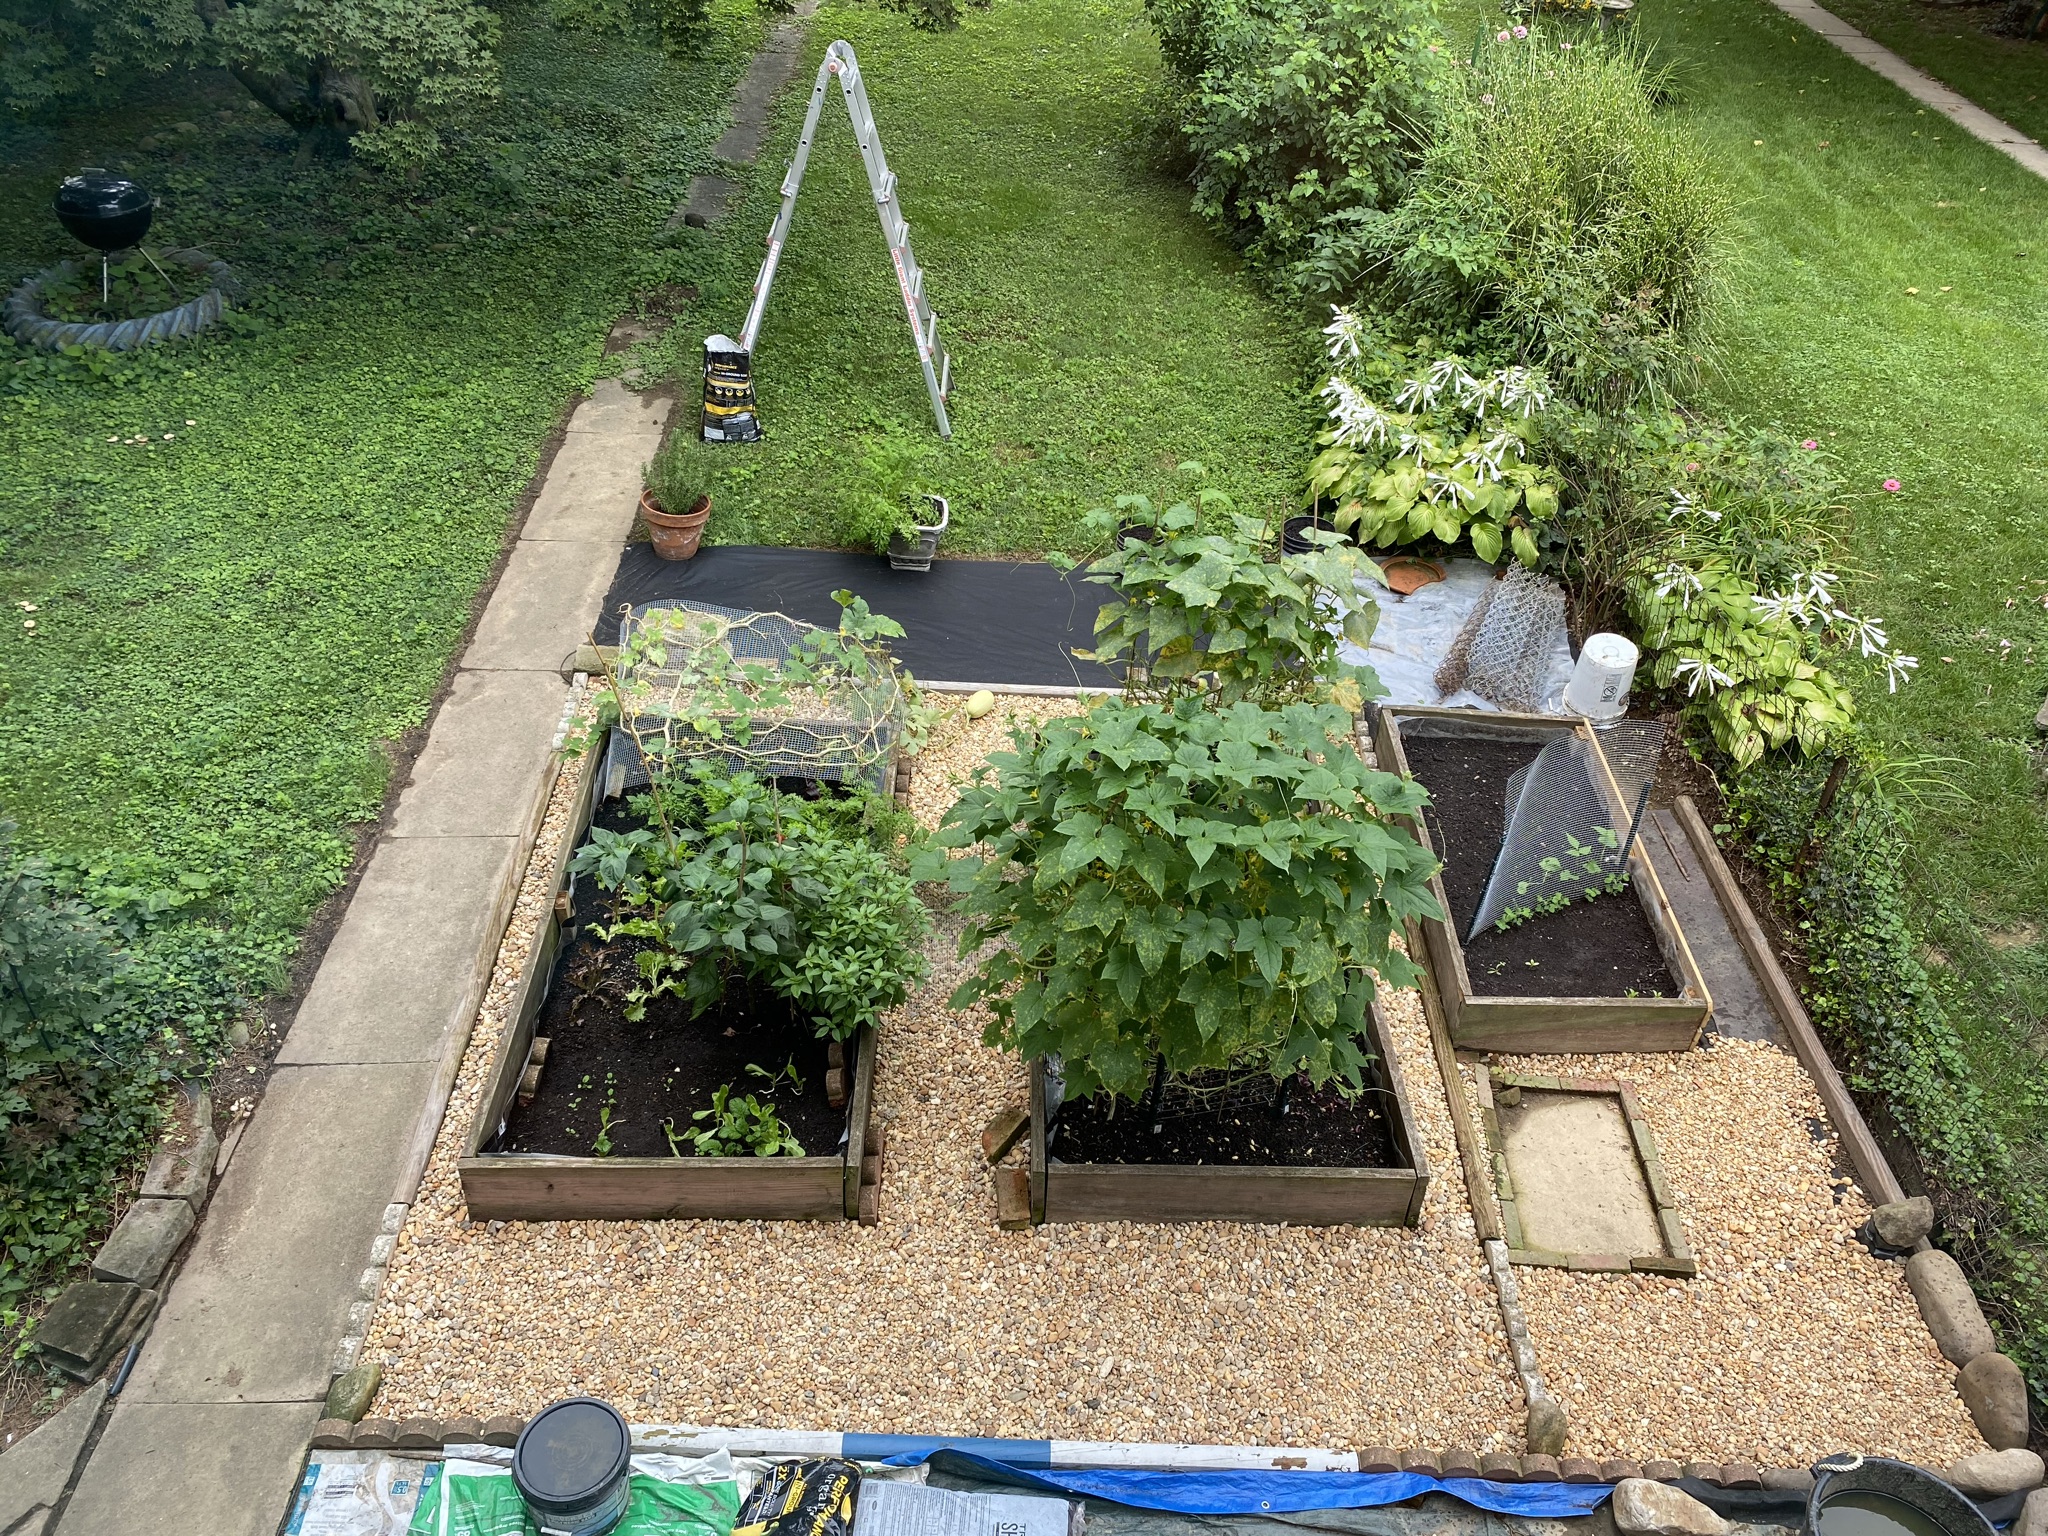
My Spring/Summer growing season was moderately successful. I trellised my squash which I think contributed to a limited amount of fruit for harvest. The peppers clearly needed more sun to reach their massive size. “King of the North” is the name of the strain. There were bountiful cukes and lots of leafy greens. What a great reward for my effort but many lessons learned!
That’s when my monkey brain started to rev up again. What if I could grow in the wintertime? What would be good vegetables for growing in the cold weather? Answer: lettuce & kale. I jumped onto my favorite non-gmo seed site called rareseeds.com and ordered some Winter lettuce and kale seeds. With great fervor I cleaned out the raised beds and got to planting. I used a direct sowing method and within a couple weeks little niblets popped through the surface of the dirt. Much to my dismay each planting and there were three was met with unseen creatures devouring the baby greens. This was incredibly frustrating for the painstaking effort I had exerted. I was puzzled by the almost immediate disappearance of this bounty I was trying to propagate. It wasn’t the dastardly squirrels because everything was covered. What I discovered was that I had a cabbage looper surfing under the surface of the dirt ready to strike like a shark from the deep when the waters are chummed. I broke out my Neem oil (organic bug spray) and doused the dirt in an over-the-top way to napalm my lettuce/kale predator. Time to figure out a Plan B.
I considered two options: create tops for winter growing and/or go back to starting/growing plants inside. Creating raised bed tops was far more challenging than I had anticipated. It was hard to find plans that I could modify for my boxes. Fortunately, the Fall was quite mild and afforded me the additional time to construct covers. I found some pictures online and set about mimicking its design. Unfortunately, this took me away from my outside growing endeavors, but I was pleased with the end result.
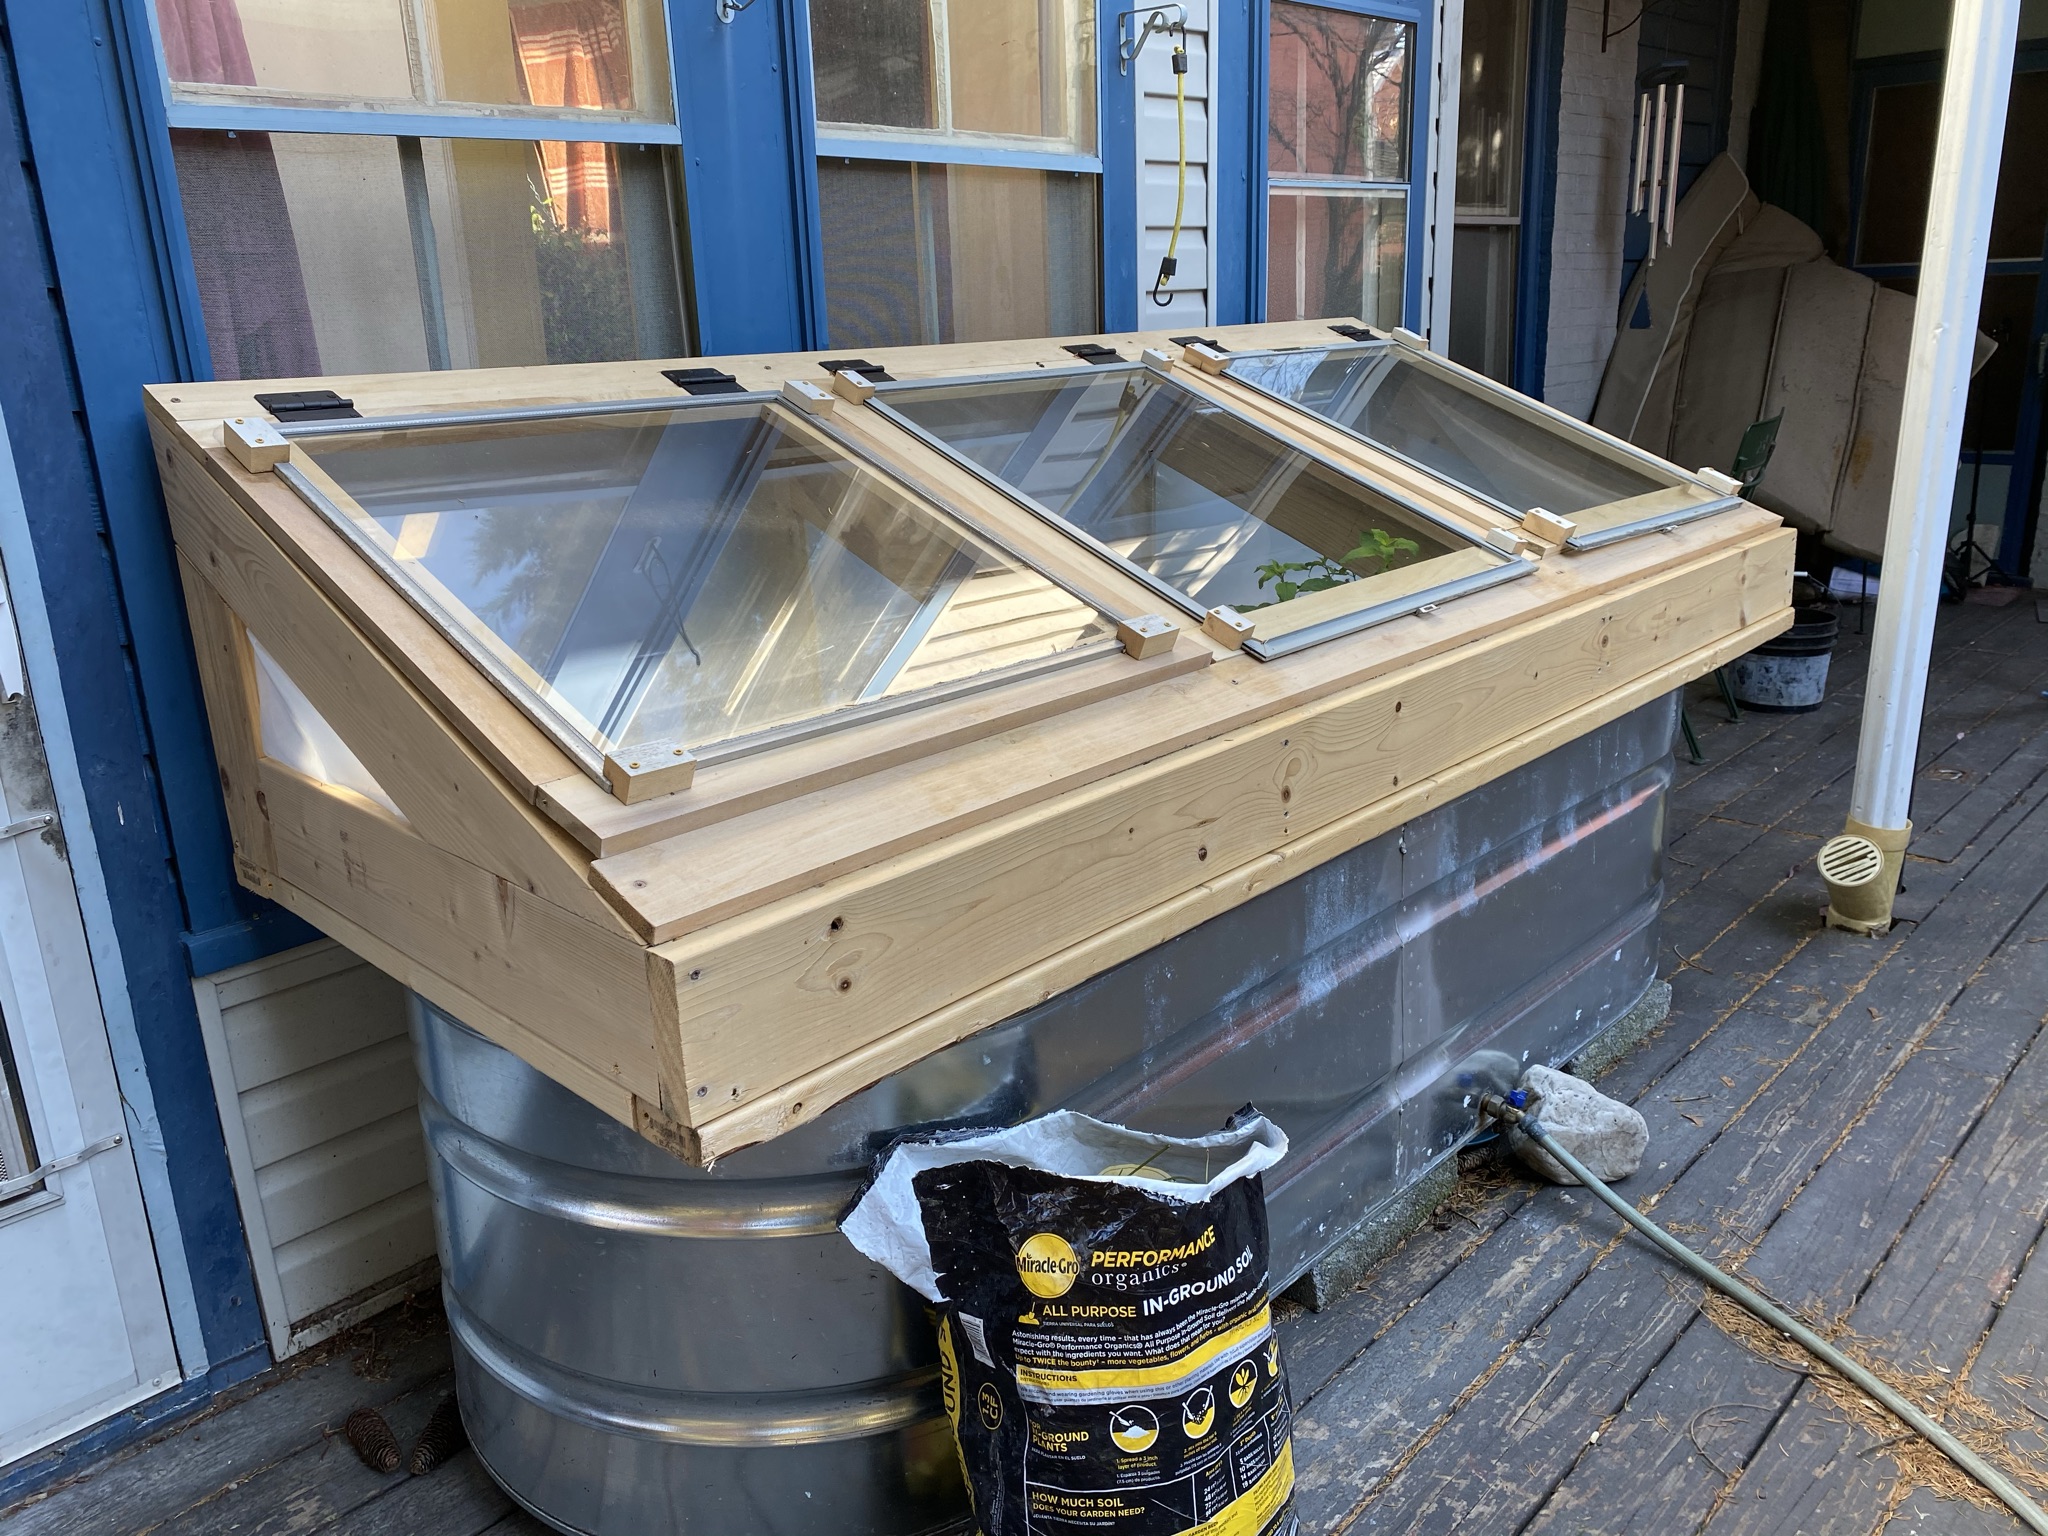
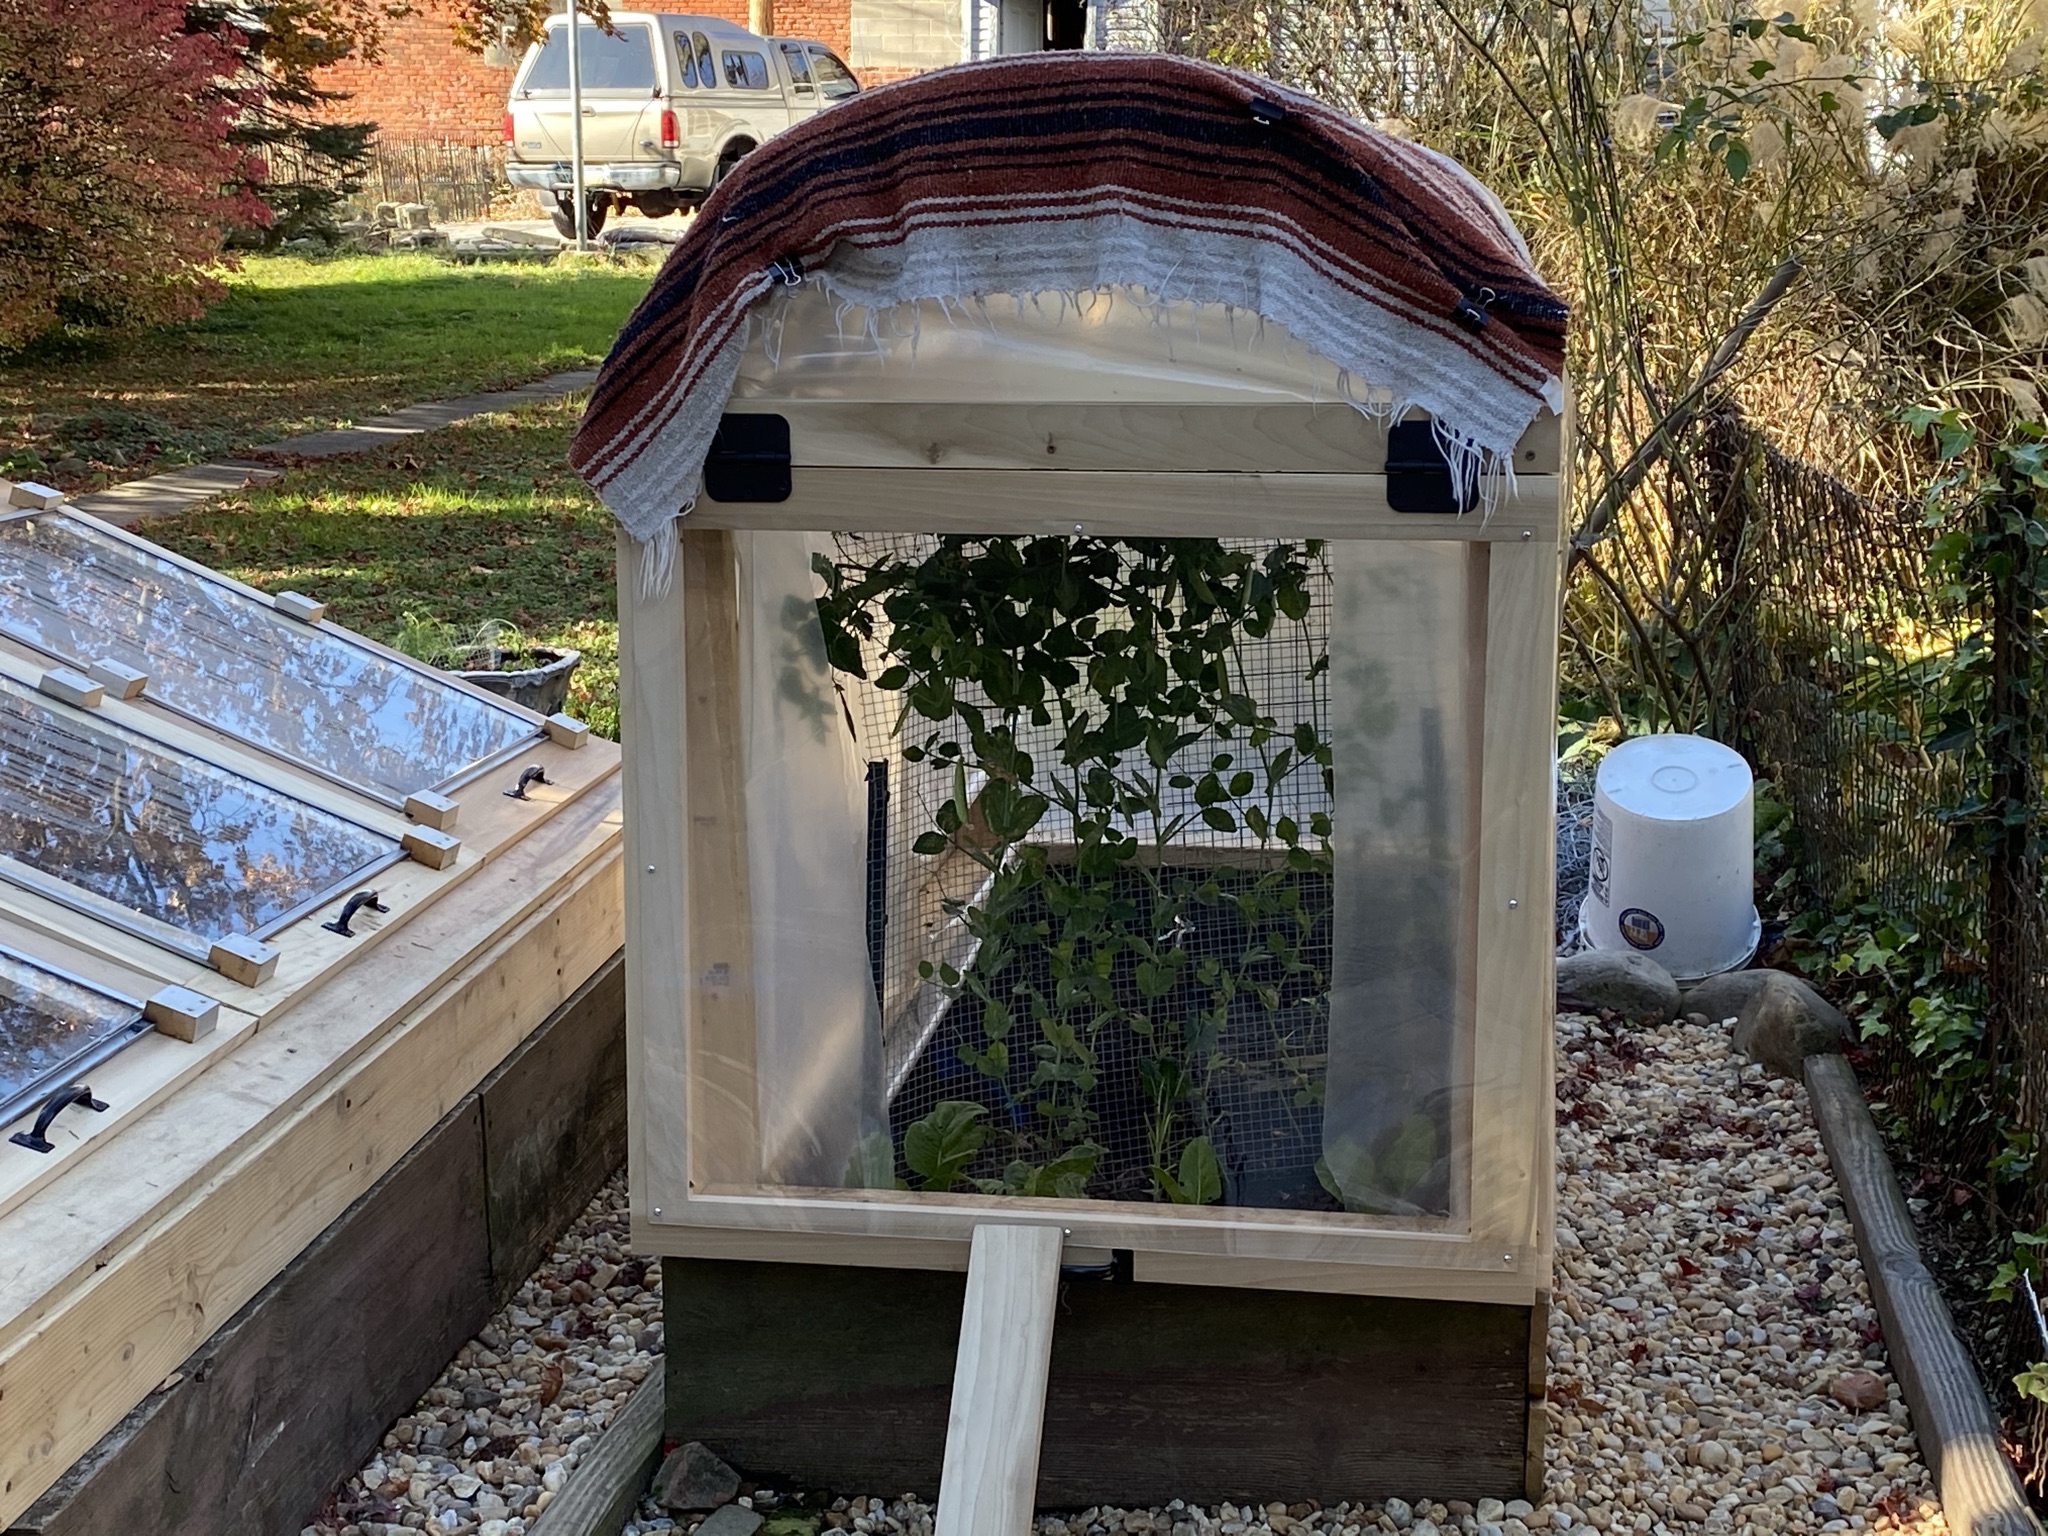
Each of my four boxes has a specialized top. Three of the four raised beds have the same top design. A triangular frame with three doors. Each door has a spare storm window affixed to the door frame. Each of the storms were slightly different dimensions so it made more sense to create door frames and then attach the windows. The fourth box had a different construction with a ribbed ceiling like a covered wagon and a door at each end of the top.
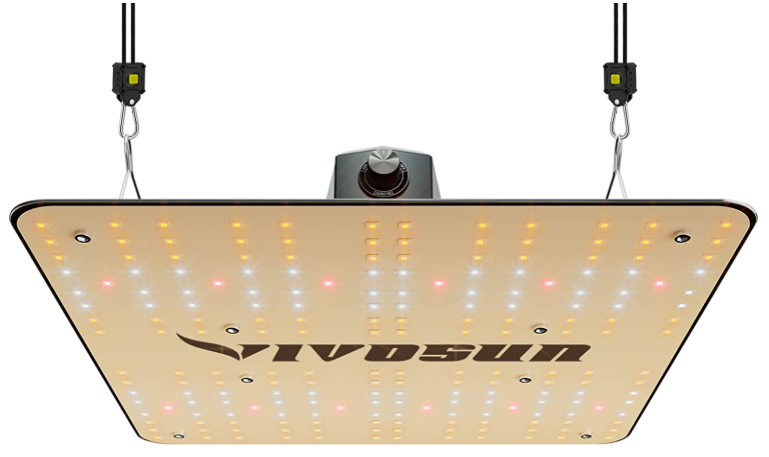
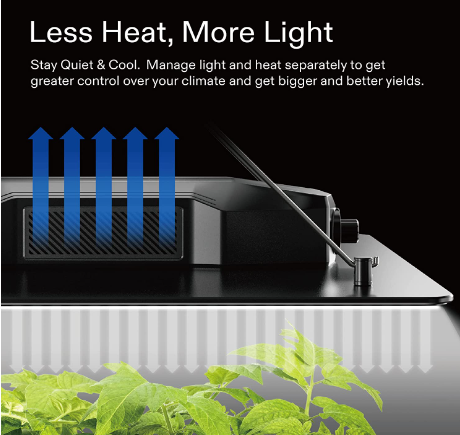
As the unseasonably warm temps waned it was time to try my hand at growing inside for a second season. The first thing that was changed was a proper grow light which I purchased from Vivosun. It has 4 settings from 25% to 100% power. At 50% power the light shown so brightly through the windows in my grow room to the outside that it looked like my neighbors had set up a flood light pointing at our house. I covered the windows in dark plastic bags and then the windows and walls with emergency reflective blankets to reflect light/heat back to the center of the room. This proved a worthwhile strategy.
As an overenthusiastic and somewhat overzealous grower I produced so many seedlings that the room was overflowing with plants. There was everything from kale to chard to oriental greens to celery to chives and so on. It was crazy and out of control, but I was determined to cultivate everything for an early Spring planting. By January it became clear that my grow room needed a back up growing space. This is when I invested in a Vivosun grow tent. What a cool invention! The grow tent is a self-contained structure that has reflective walls. Vivosun provides grow tent packages that include the grow light, fan and air filter. I was off to the races and filled up a second growing space with plants that needed an extra boost in light. I used some cinderblocks and utility shelving from Lowes to create different growing tiers.
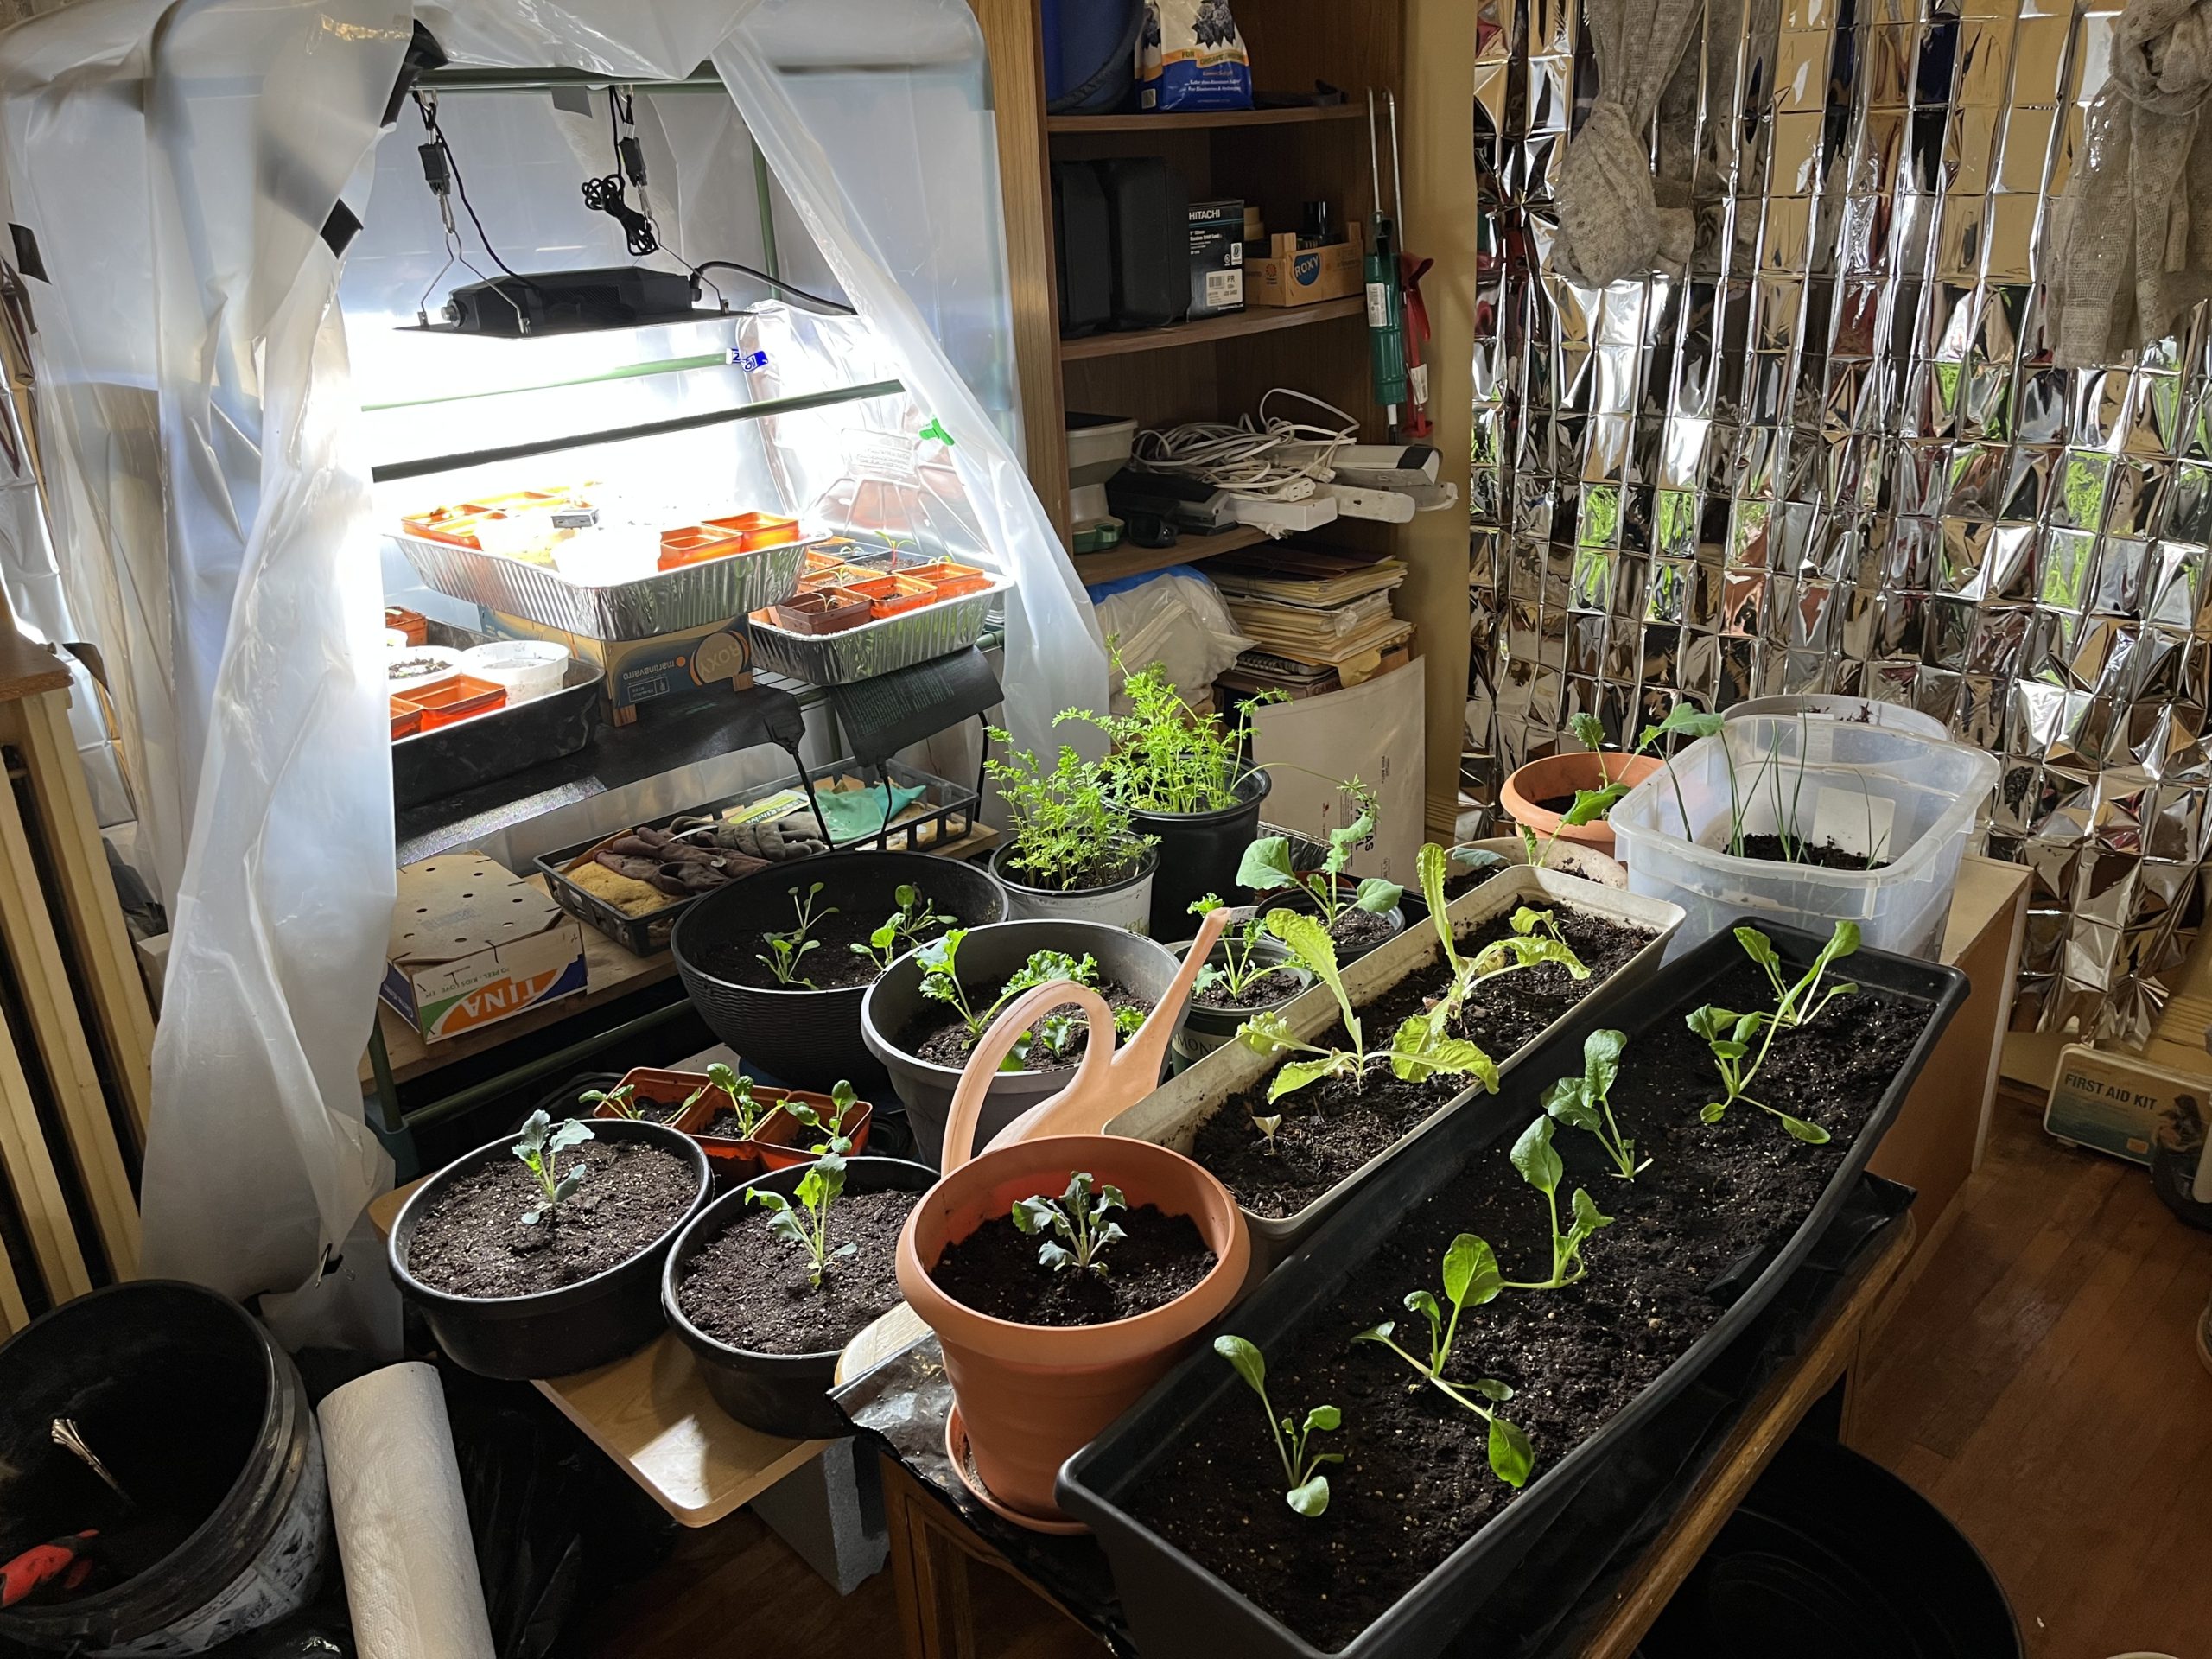
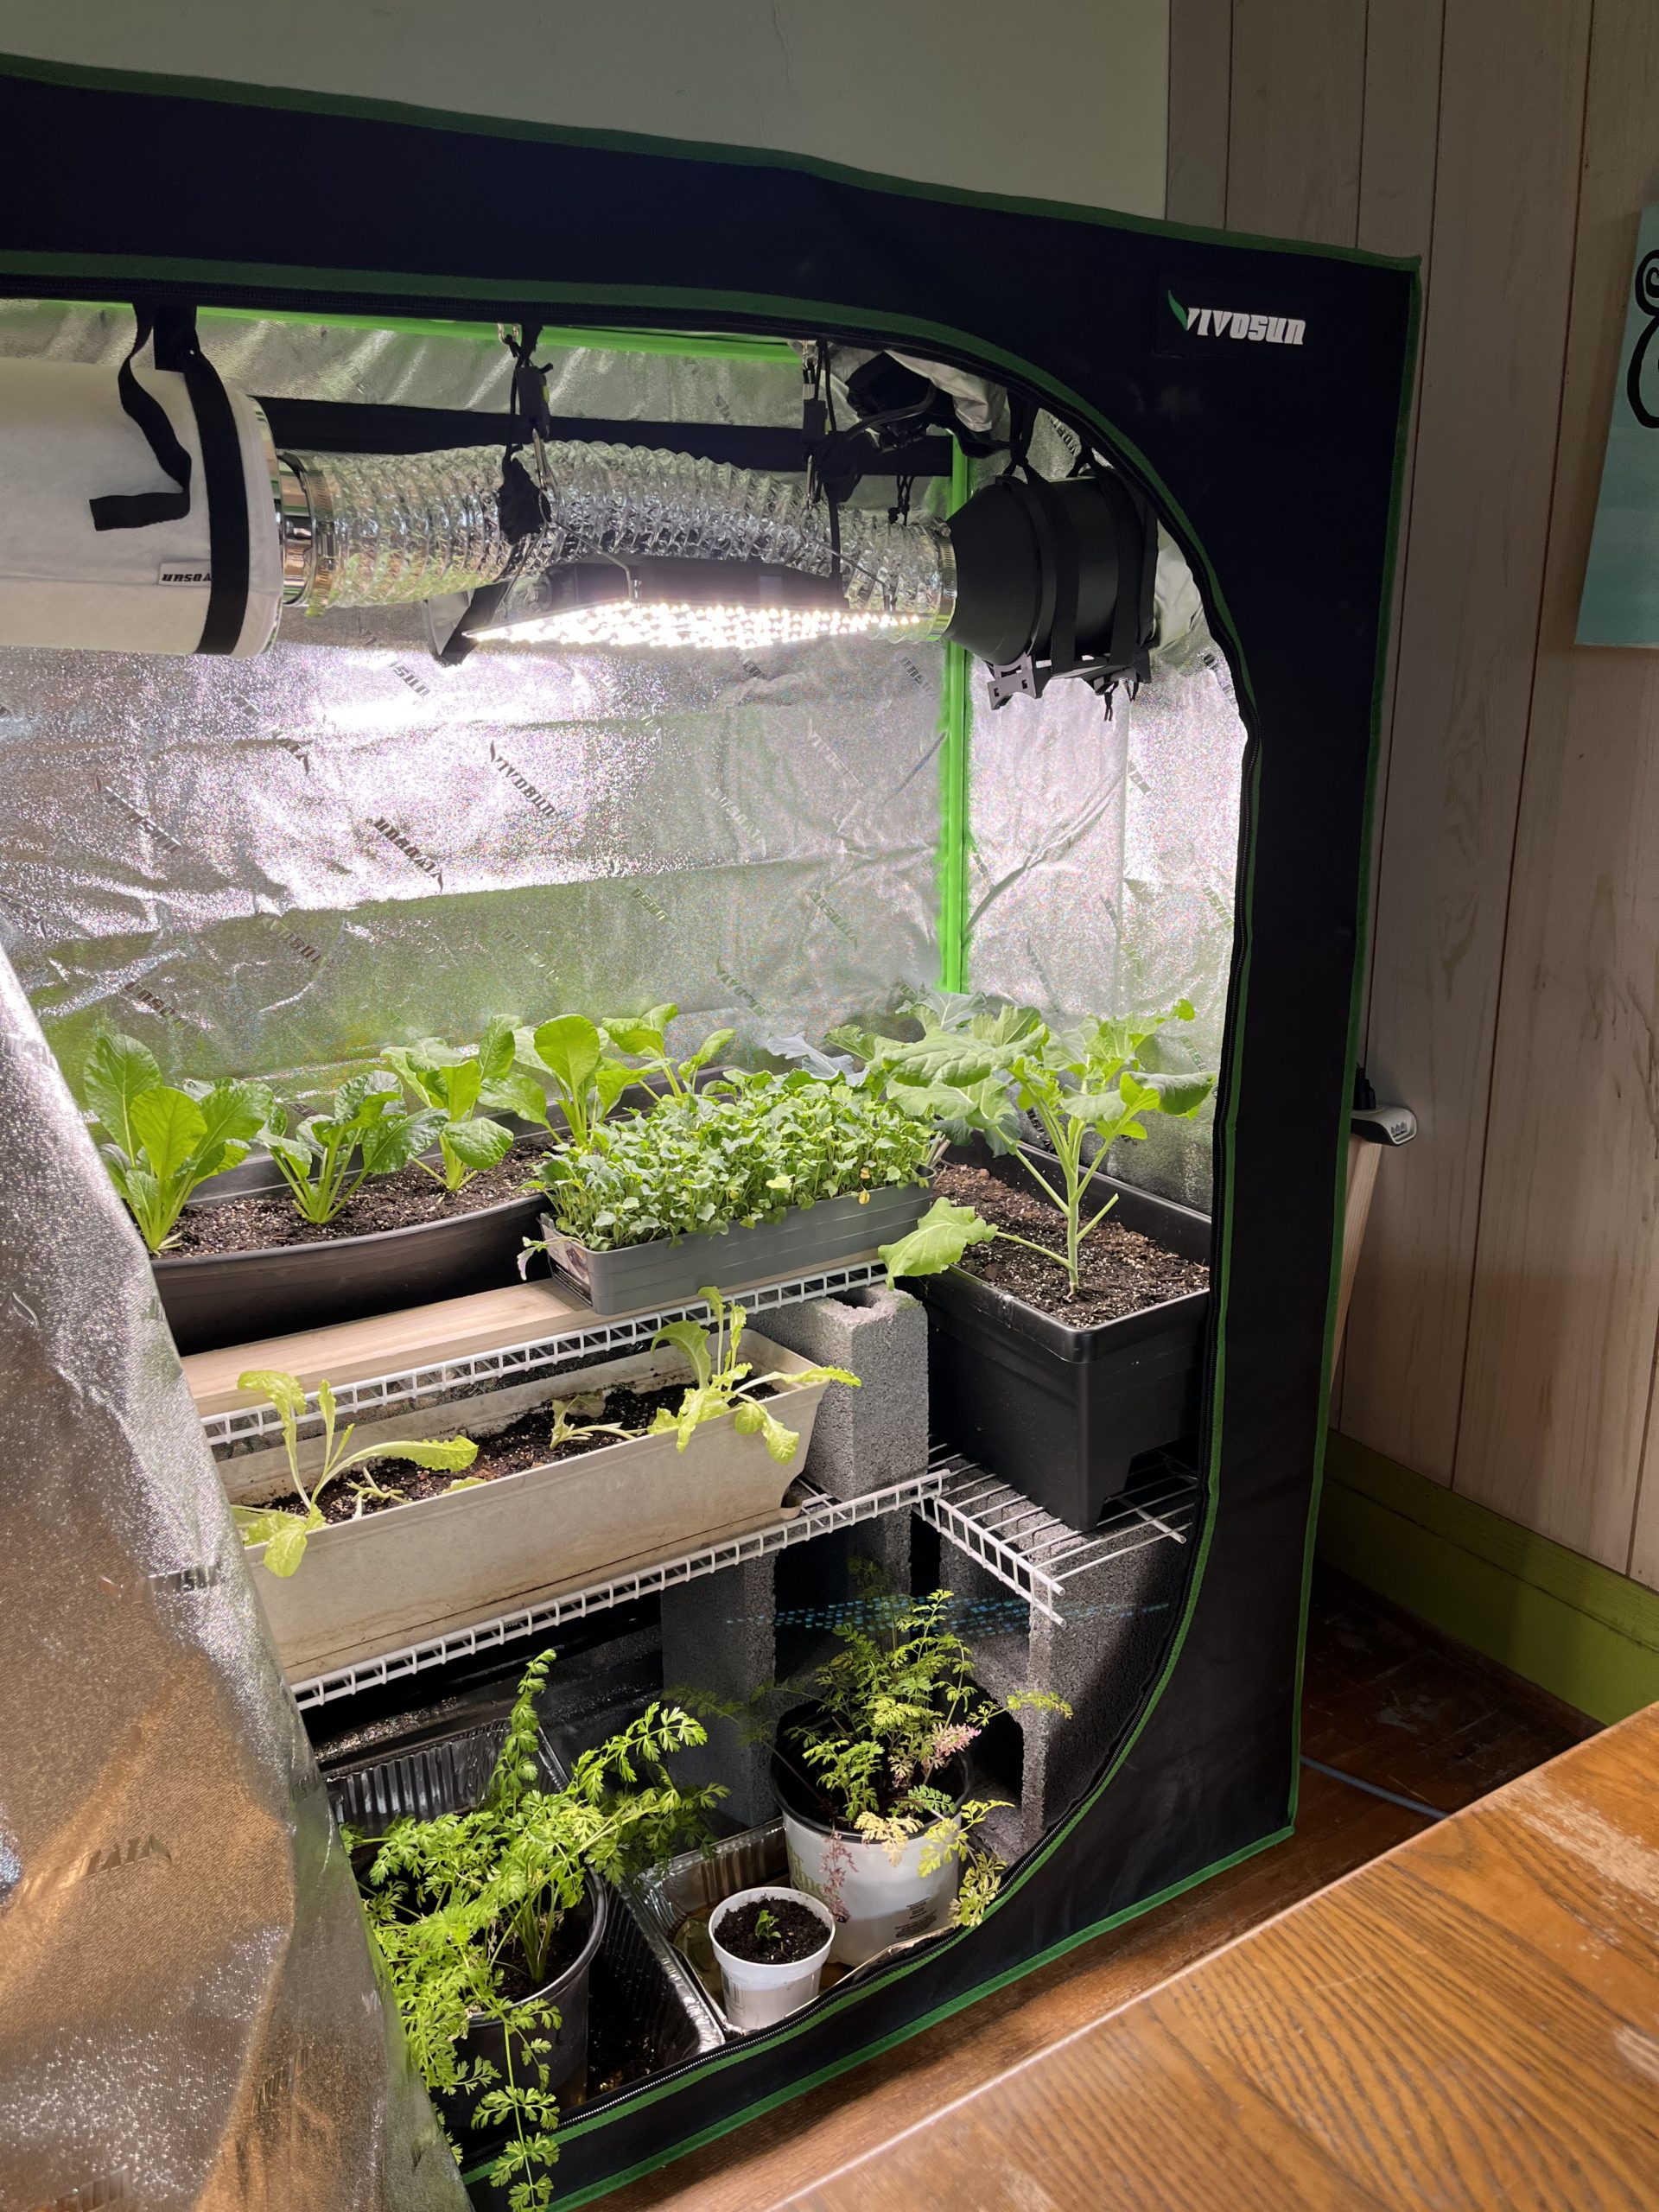
After last years growing adventure this years process has been much more concise and targeted. The grow room is about 10 degrees colder and is consistently at 60-65 degrees. This is perfect for potato bags, propagated onions and overwintered pink celery. While the grow tent allows me to maintain warmer temps around 70 degrees and more concentrated light. This is ideal for greens, lettuce and starting new seeds.
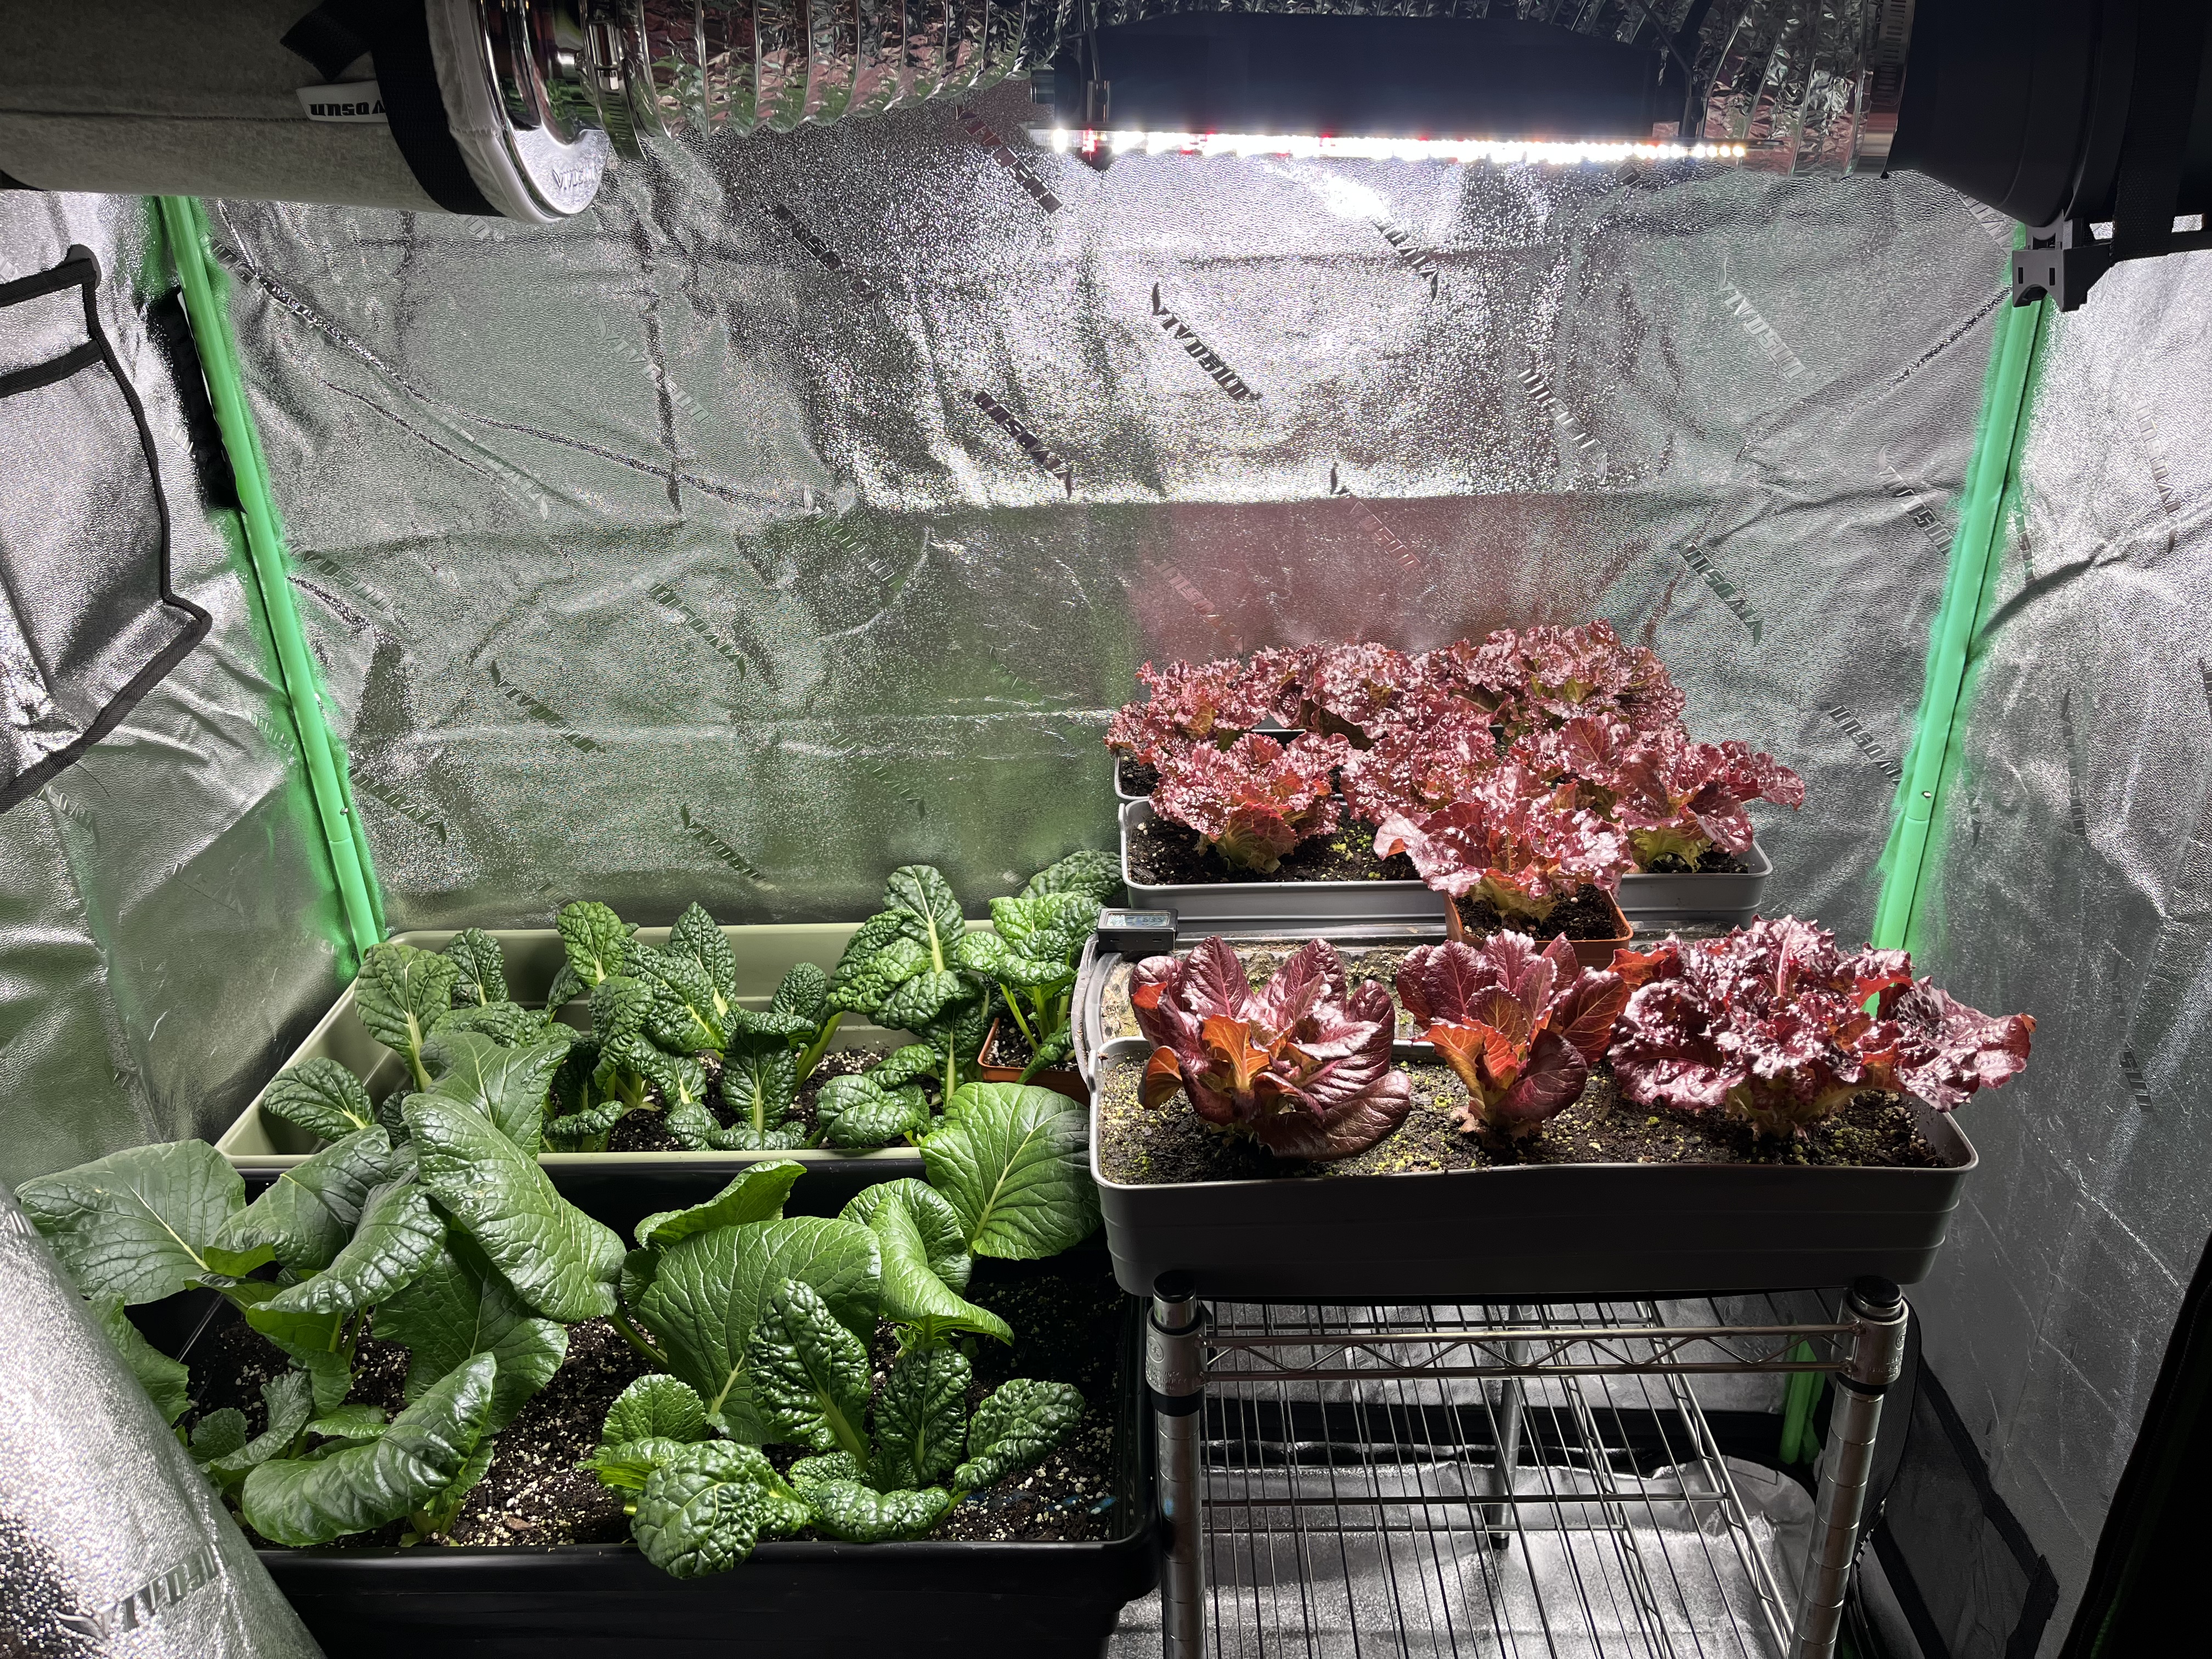
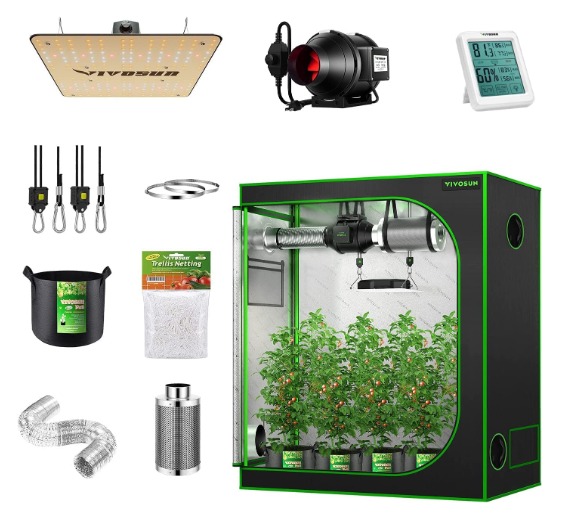
If you are interested in growing indoors I highly recommend the Vivosun Grow Tent. It makes the process so easy. Everything is self-contained in a relatively small space. My tent is 4'x2'x4' and tucks into a corner of one of our spare rooms. The kit provides you with a fan, grow light and air filter so all you need to do is create some shelving. This year the package includes hydroponic grow bags which I hope to play with later this winter. If you want to learn more you can click on the Amazon link to explore Vivosun's options.
If you are interested in growing indoors I highly recommend the Vivosun Grow Tent. It makes the process so easy. Everything is self-contained in a relatively small space. My tent is 4'x2'x4' and tucks into a corner of one of our spare rooms. The kit provides you with a fan, grow light and air filter so all you need to do is create some shelving. This year the package includes hydroponic grow bags which I hope to play with later this winter. If you want to learn more you can click on the Amazon link to explore Vivosun's options.
During the Winter of 2021 I began visualizing and dreaming about what my outdoor space would look like. I knew the boxes would give me an early start to the season, but also wanted to convert our back yard space into a more formal farm with tilled patches for squash, green beans, cucumbers, amaranth, quinoa, etc. A good friend contributed some growing plastic which gave me the ability to till and cover certain sections for weed control. This strategy was helpful for the cucumbers and green beans, but I think stunted the butternut squash bush fruit production. Even though the squash plants were advertised as bushes their growing habit was more like a trailing vine needing bare earth. The plastic also helped to create pathways that were covered with mulch separating different growing spaces for maintenance of the beds.
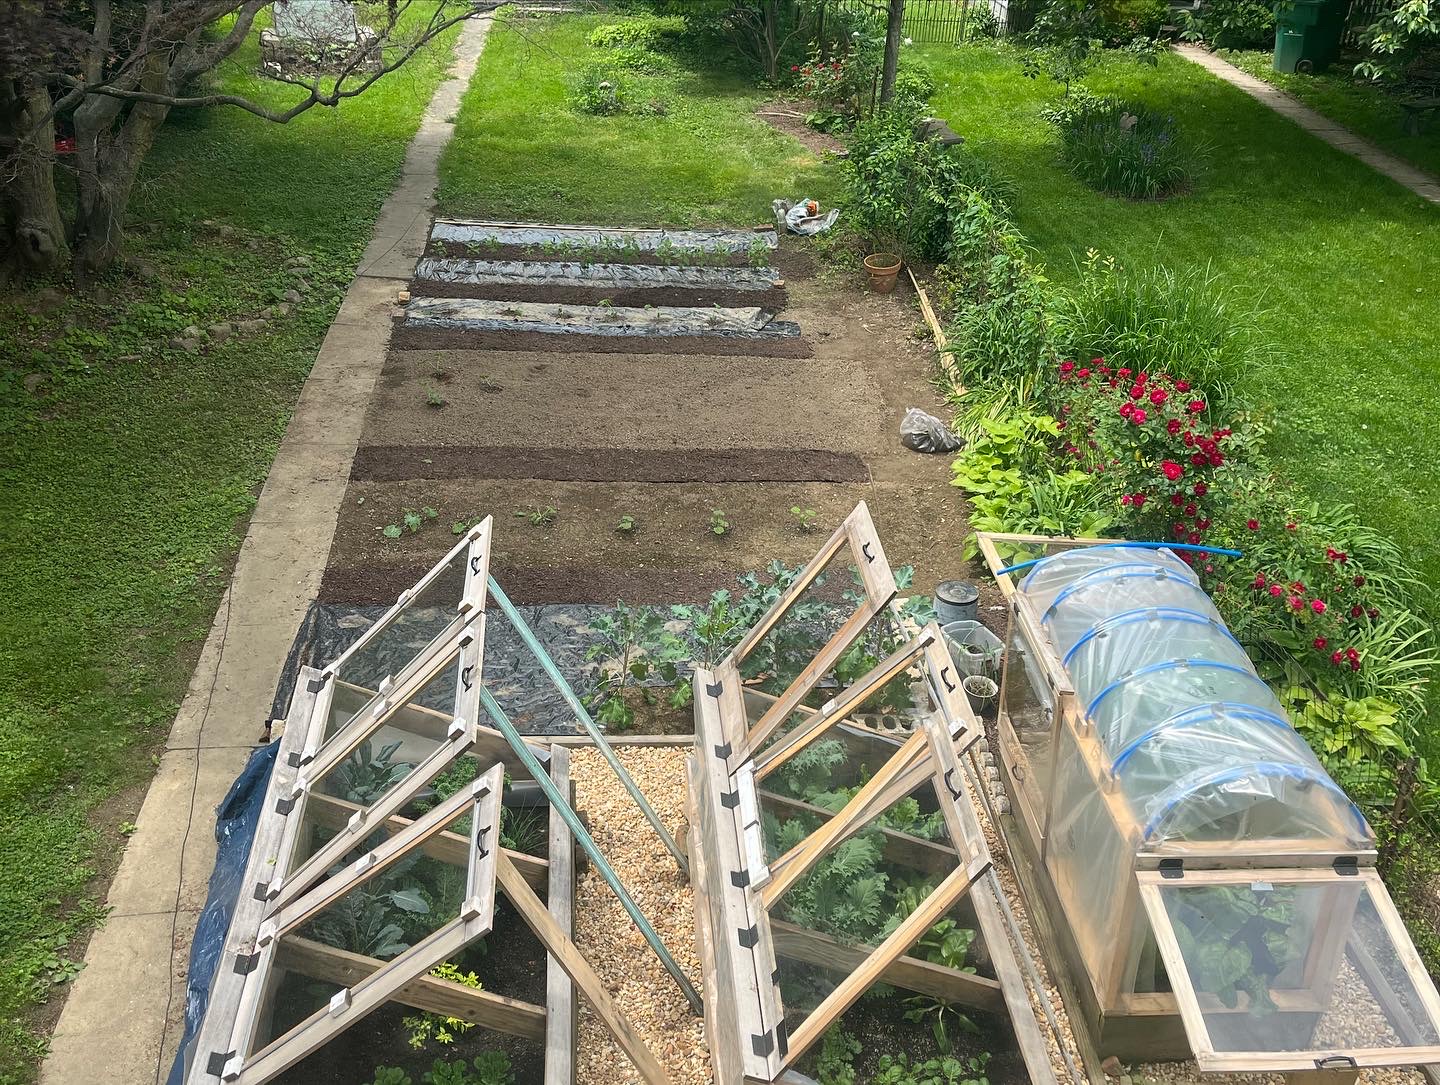
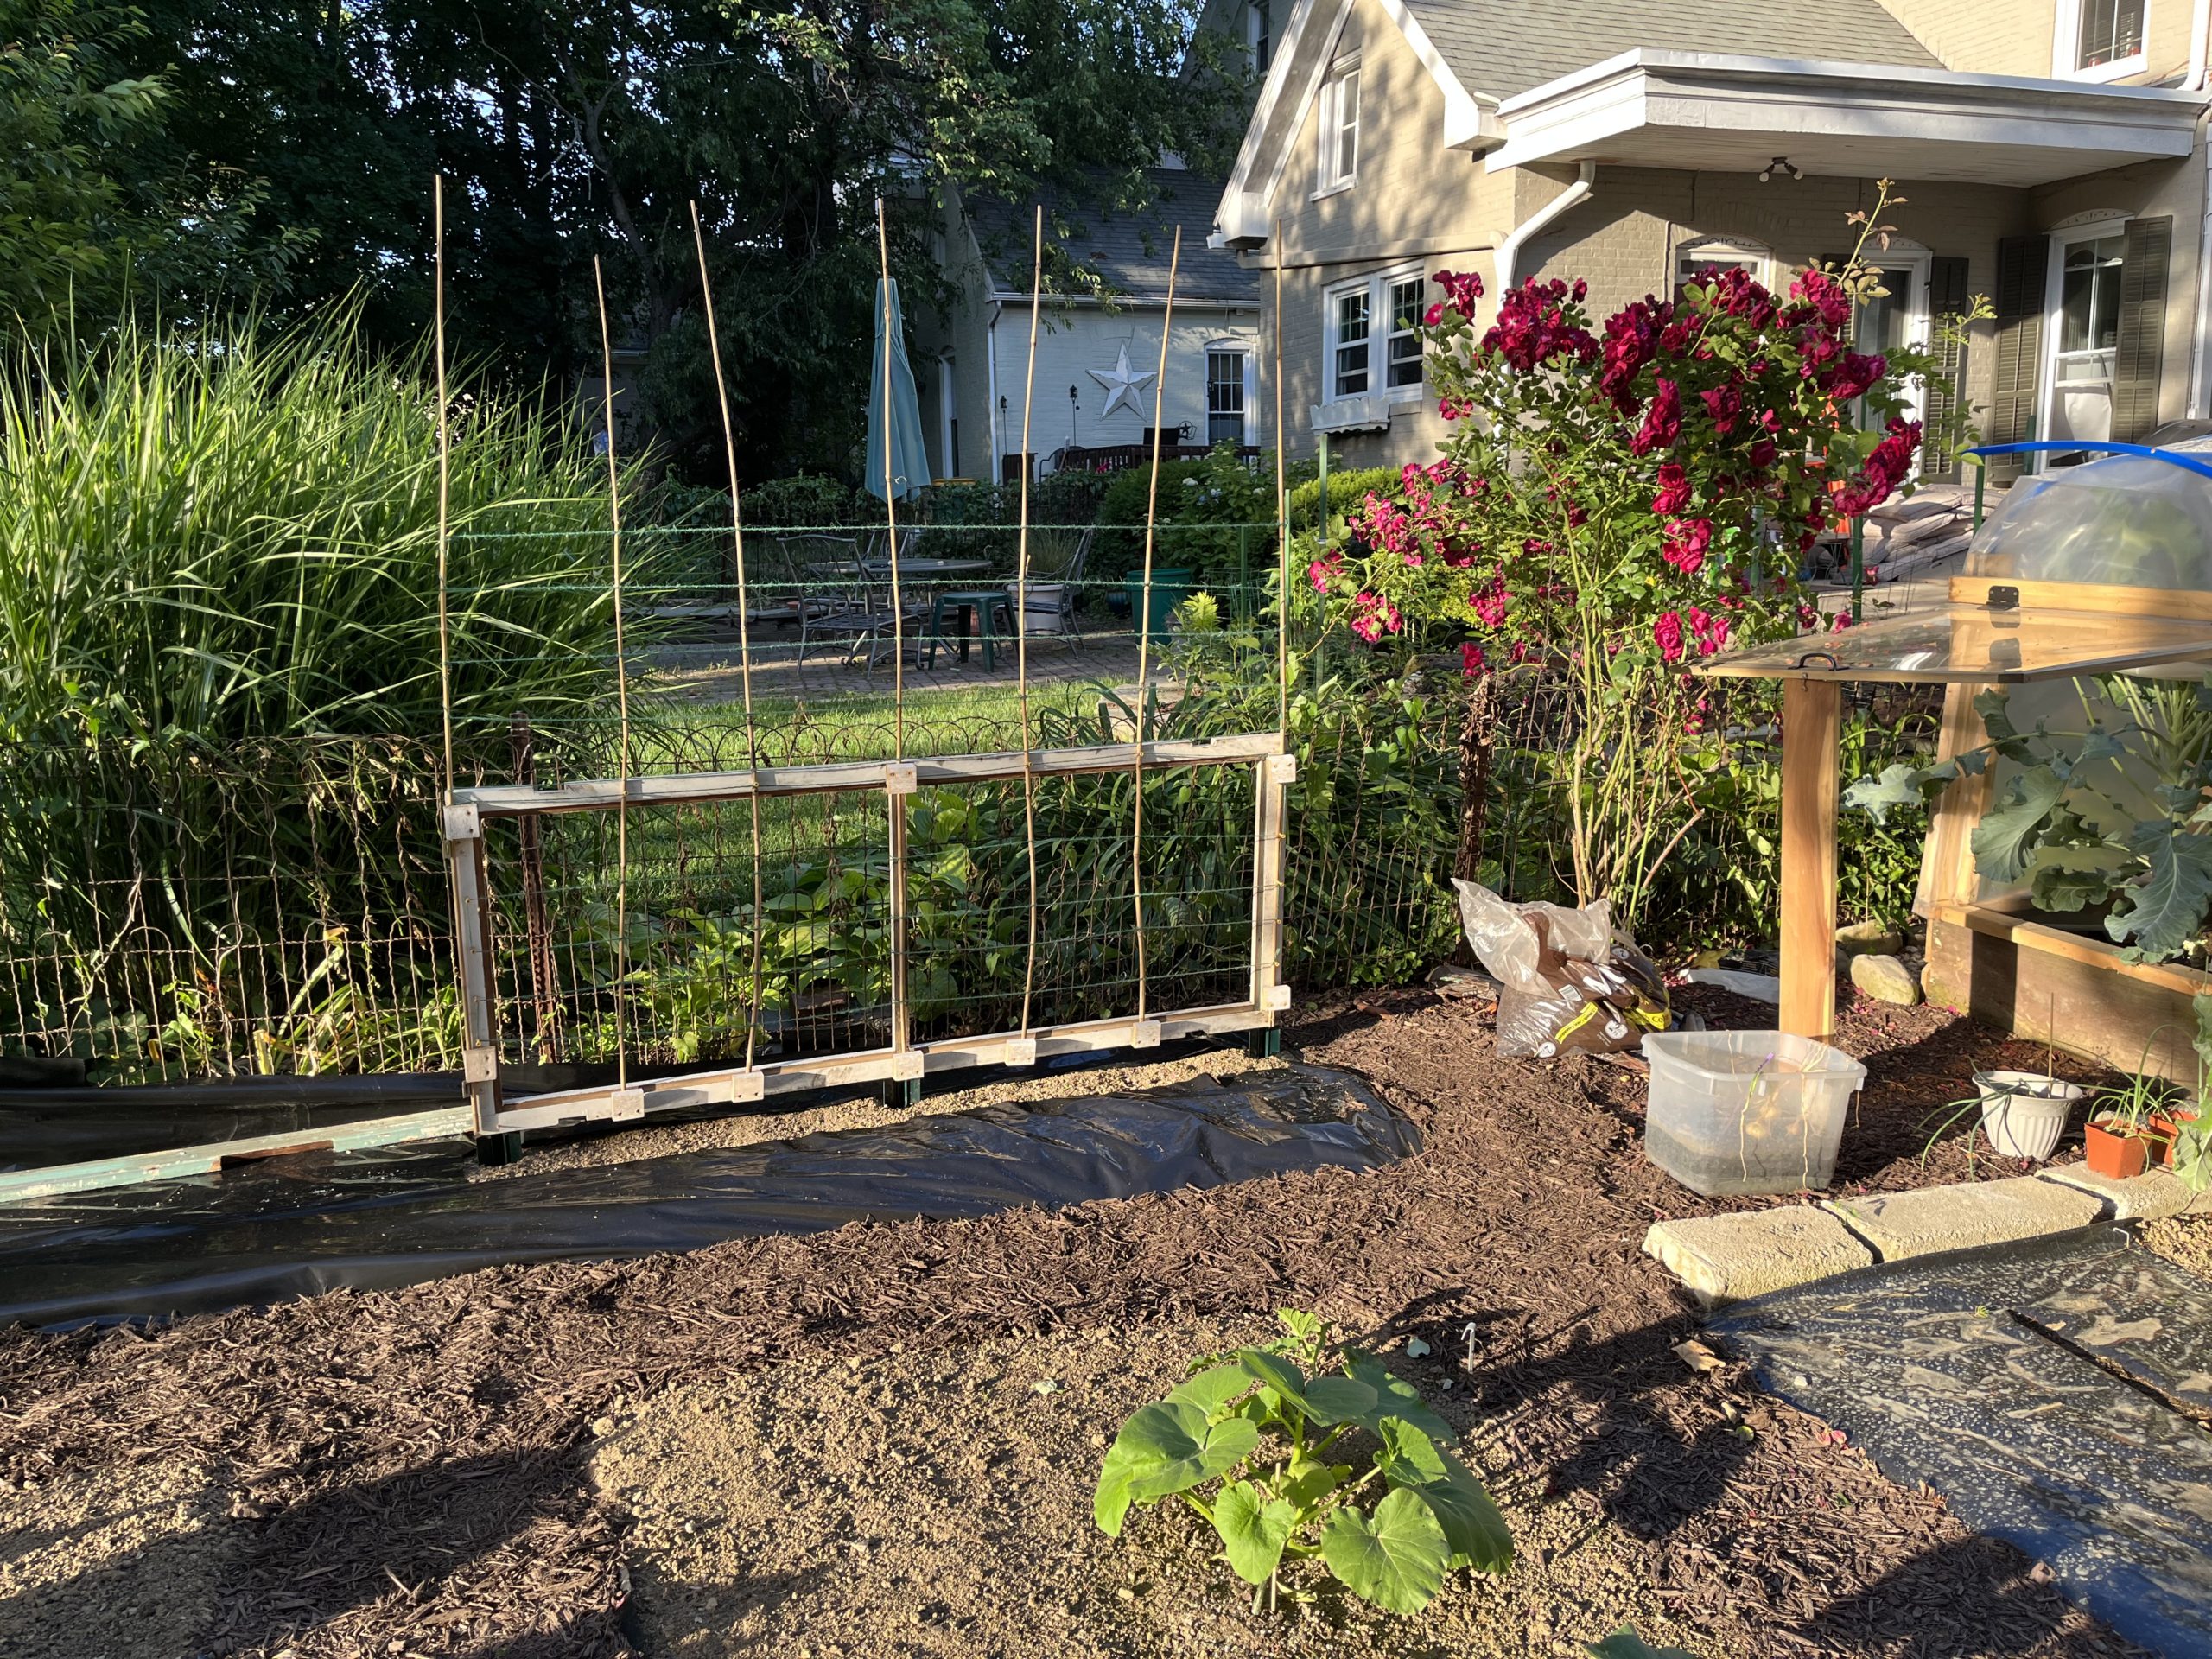
Converting the yard into productive growing space was no small task. The space extends about 50ft out and is 15ft wide. I decided that along the fence line I would grow cucumbers and green beans. Both of these vegetables require a trellis. The cucumber trellis was built out of an old screen door frame I found in the rafters of our garage. I added 6 bamboo poles to the door and wove garden twine at regular intervals for the vines to climb. The vines vigorously grew to the top of the poles overtaking the poles. Then one day I came out and the bamboo poles had broken under the strain of the vines and toppled over. I was devastated, but time to improvise to save the crop. Off to Lowes I went. I built a 4ft table top and was able to incrementally lift the heavy intertwined vines up by the broken poles to slip the support underneath. This definitely saved the day, but limited the production of the sweet, white apple cucumbers.
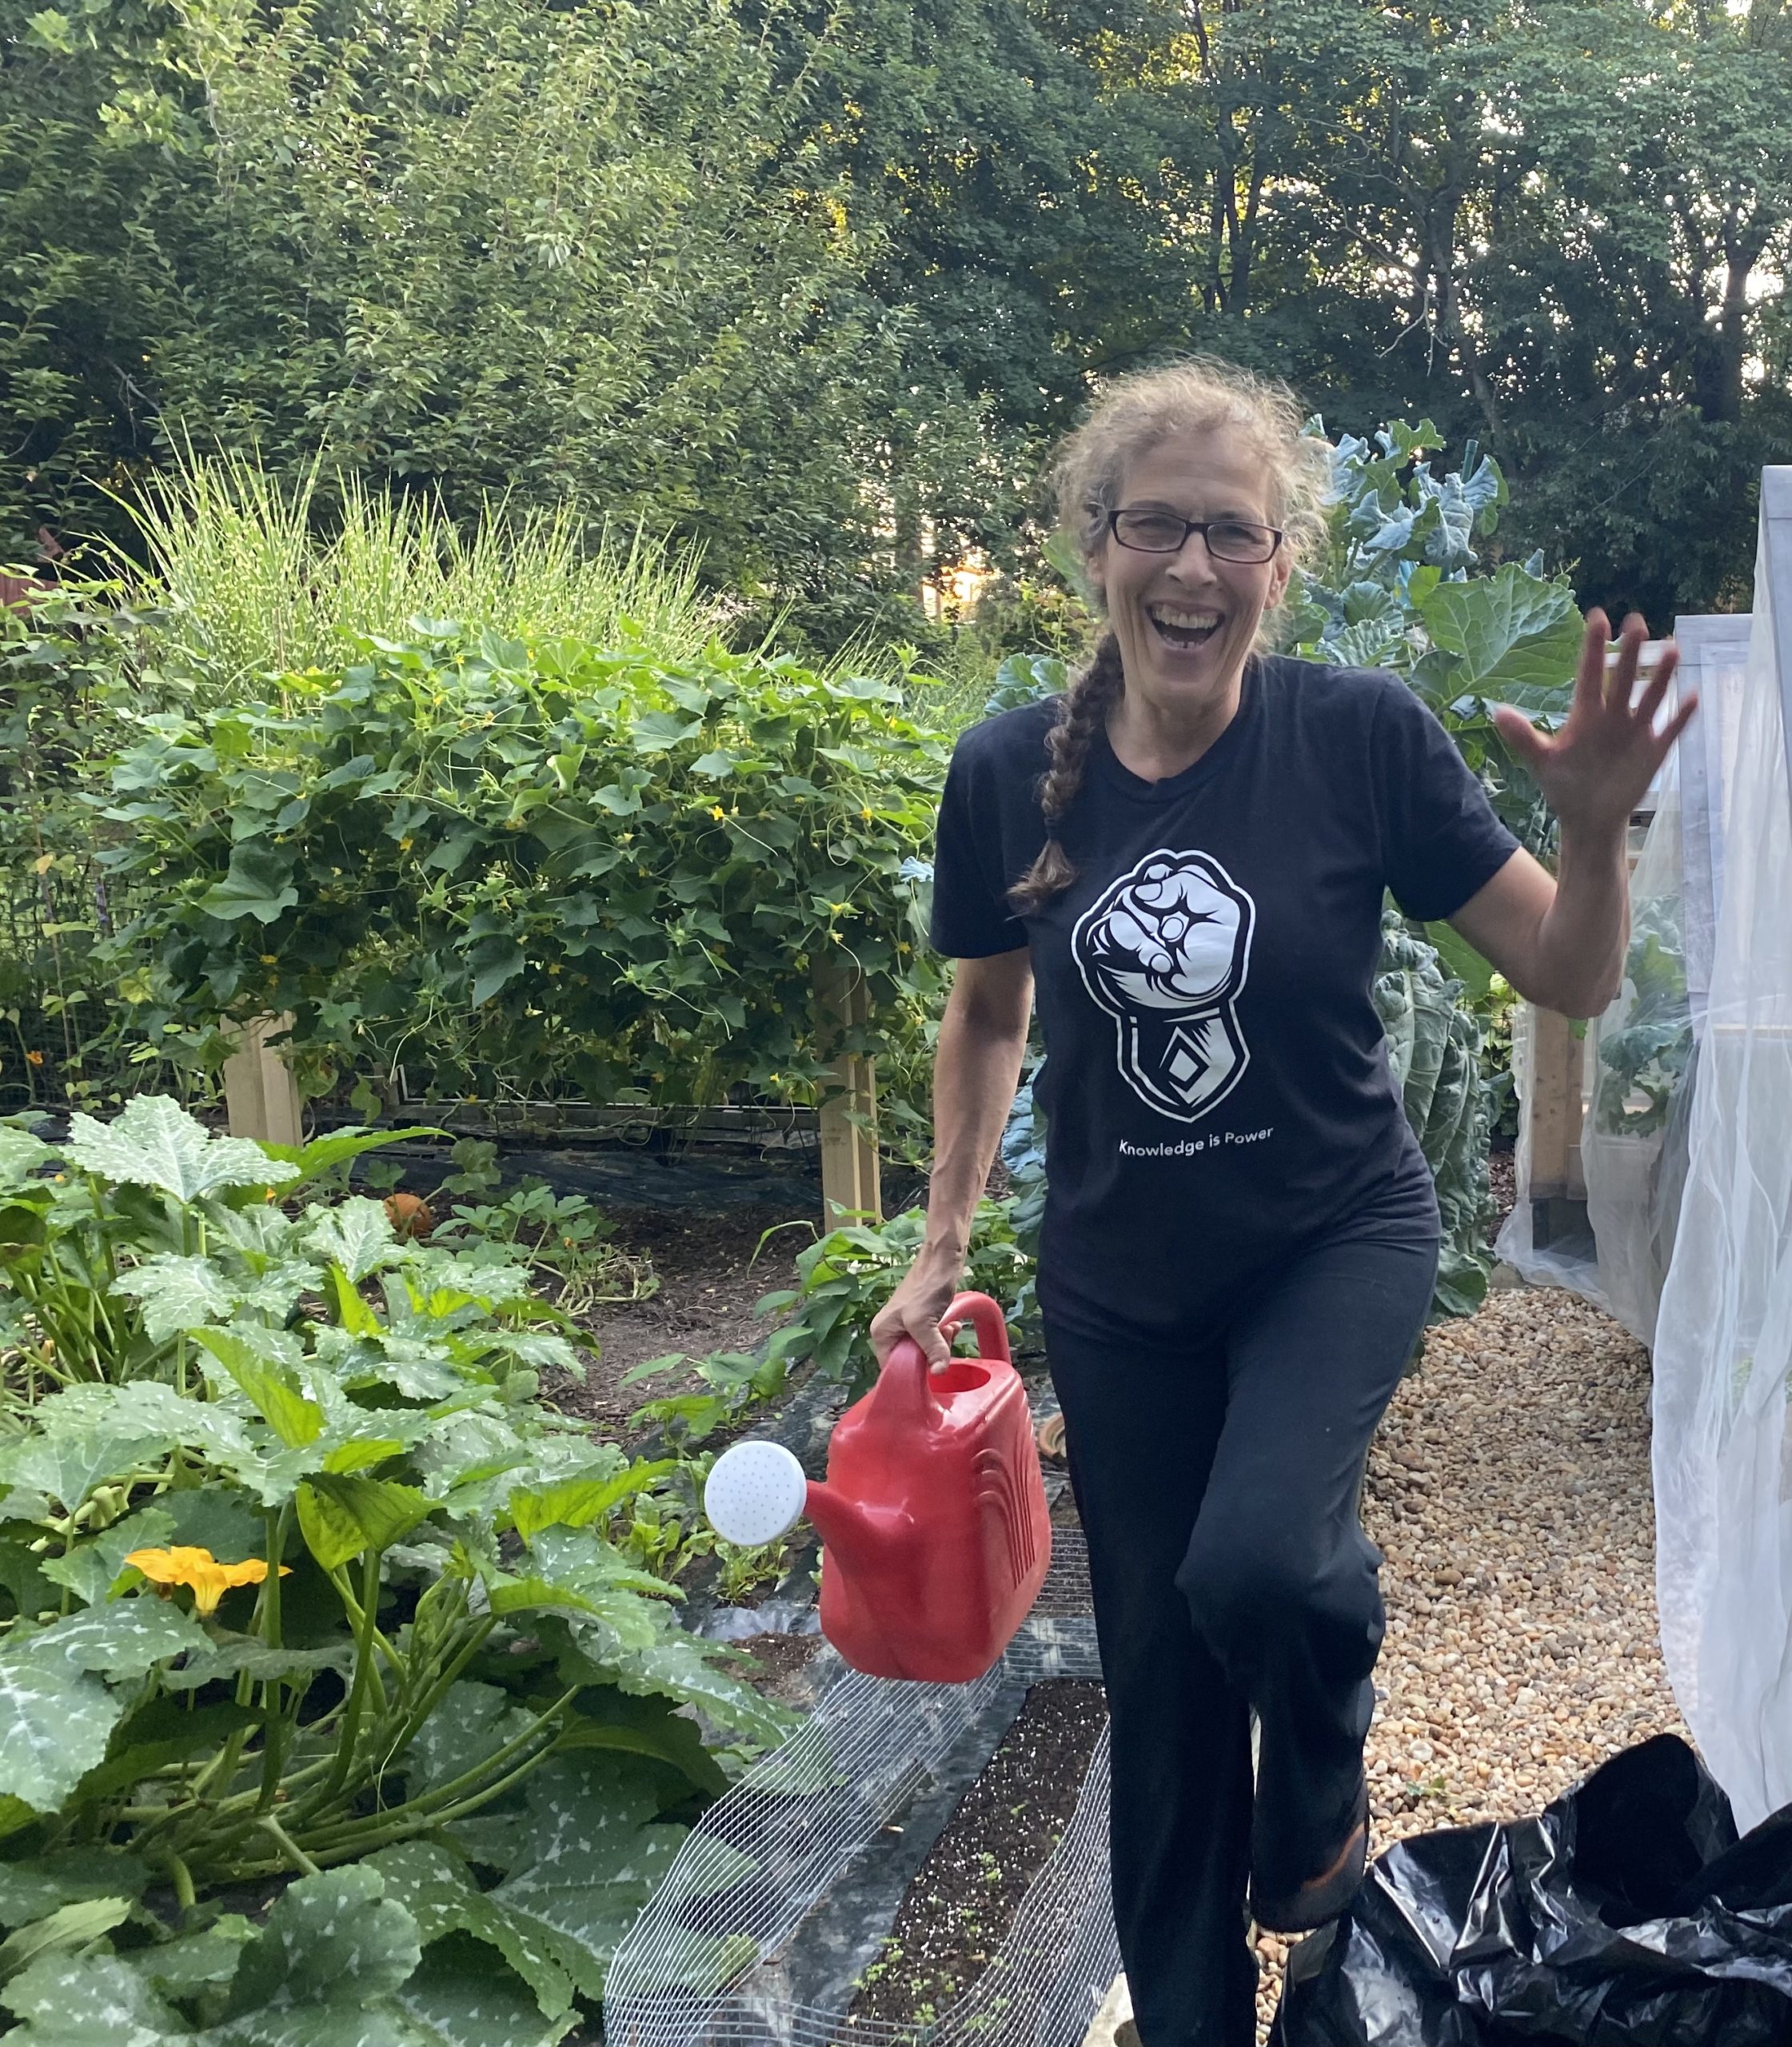
The yard, my mini farm, exploded in growth and before I knew it the growth was swelling beyond its borders. The squash was so prolific in its growth it grew over the sidewalk and took over the other side of our yard. I had accomplished my goal of growing our food. Everyday I could plan our meals around what was growing in the garden. It is such a satisfying feeling to walk out into your yard and pluck fresh, delicious produce. Truly a farm to table experience.
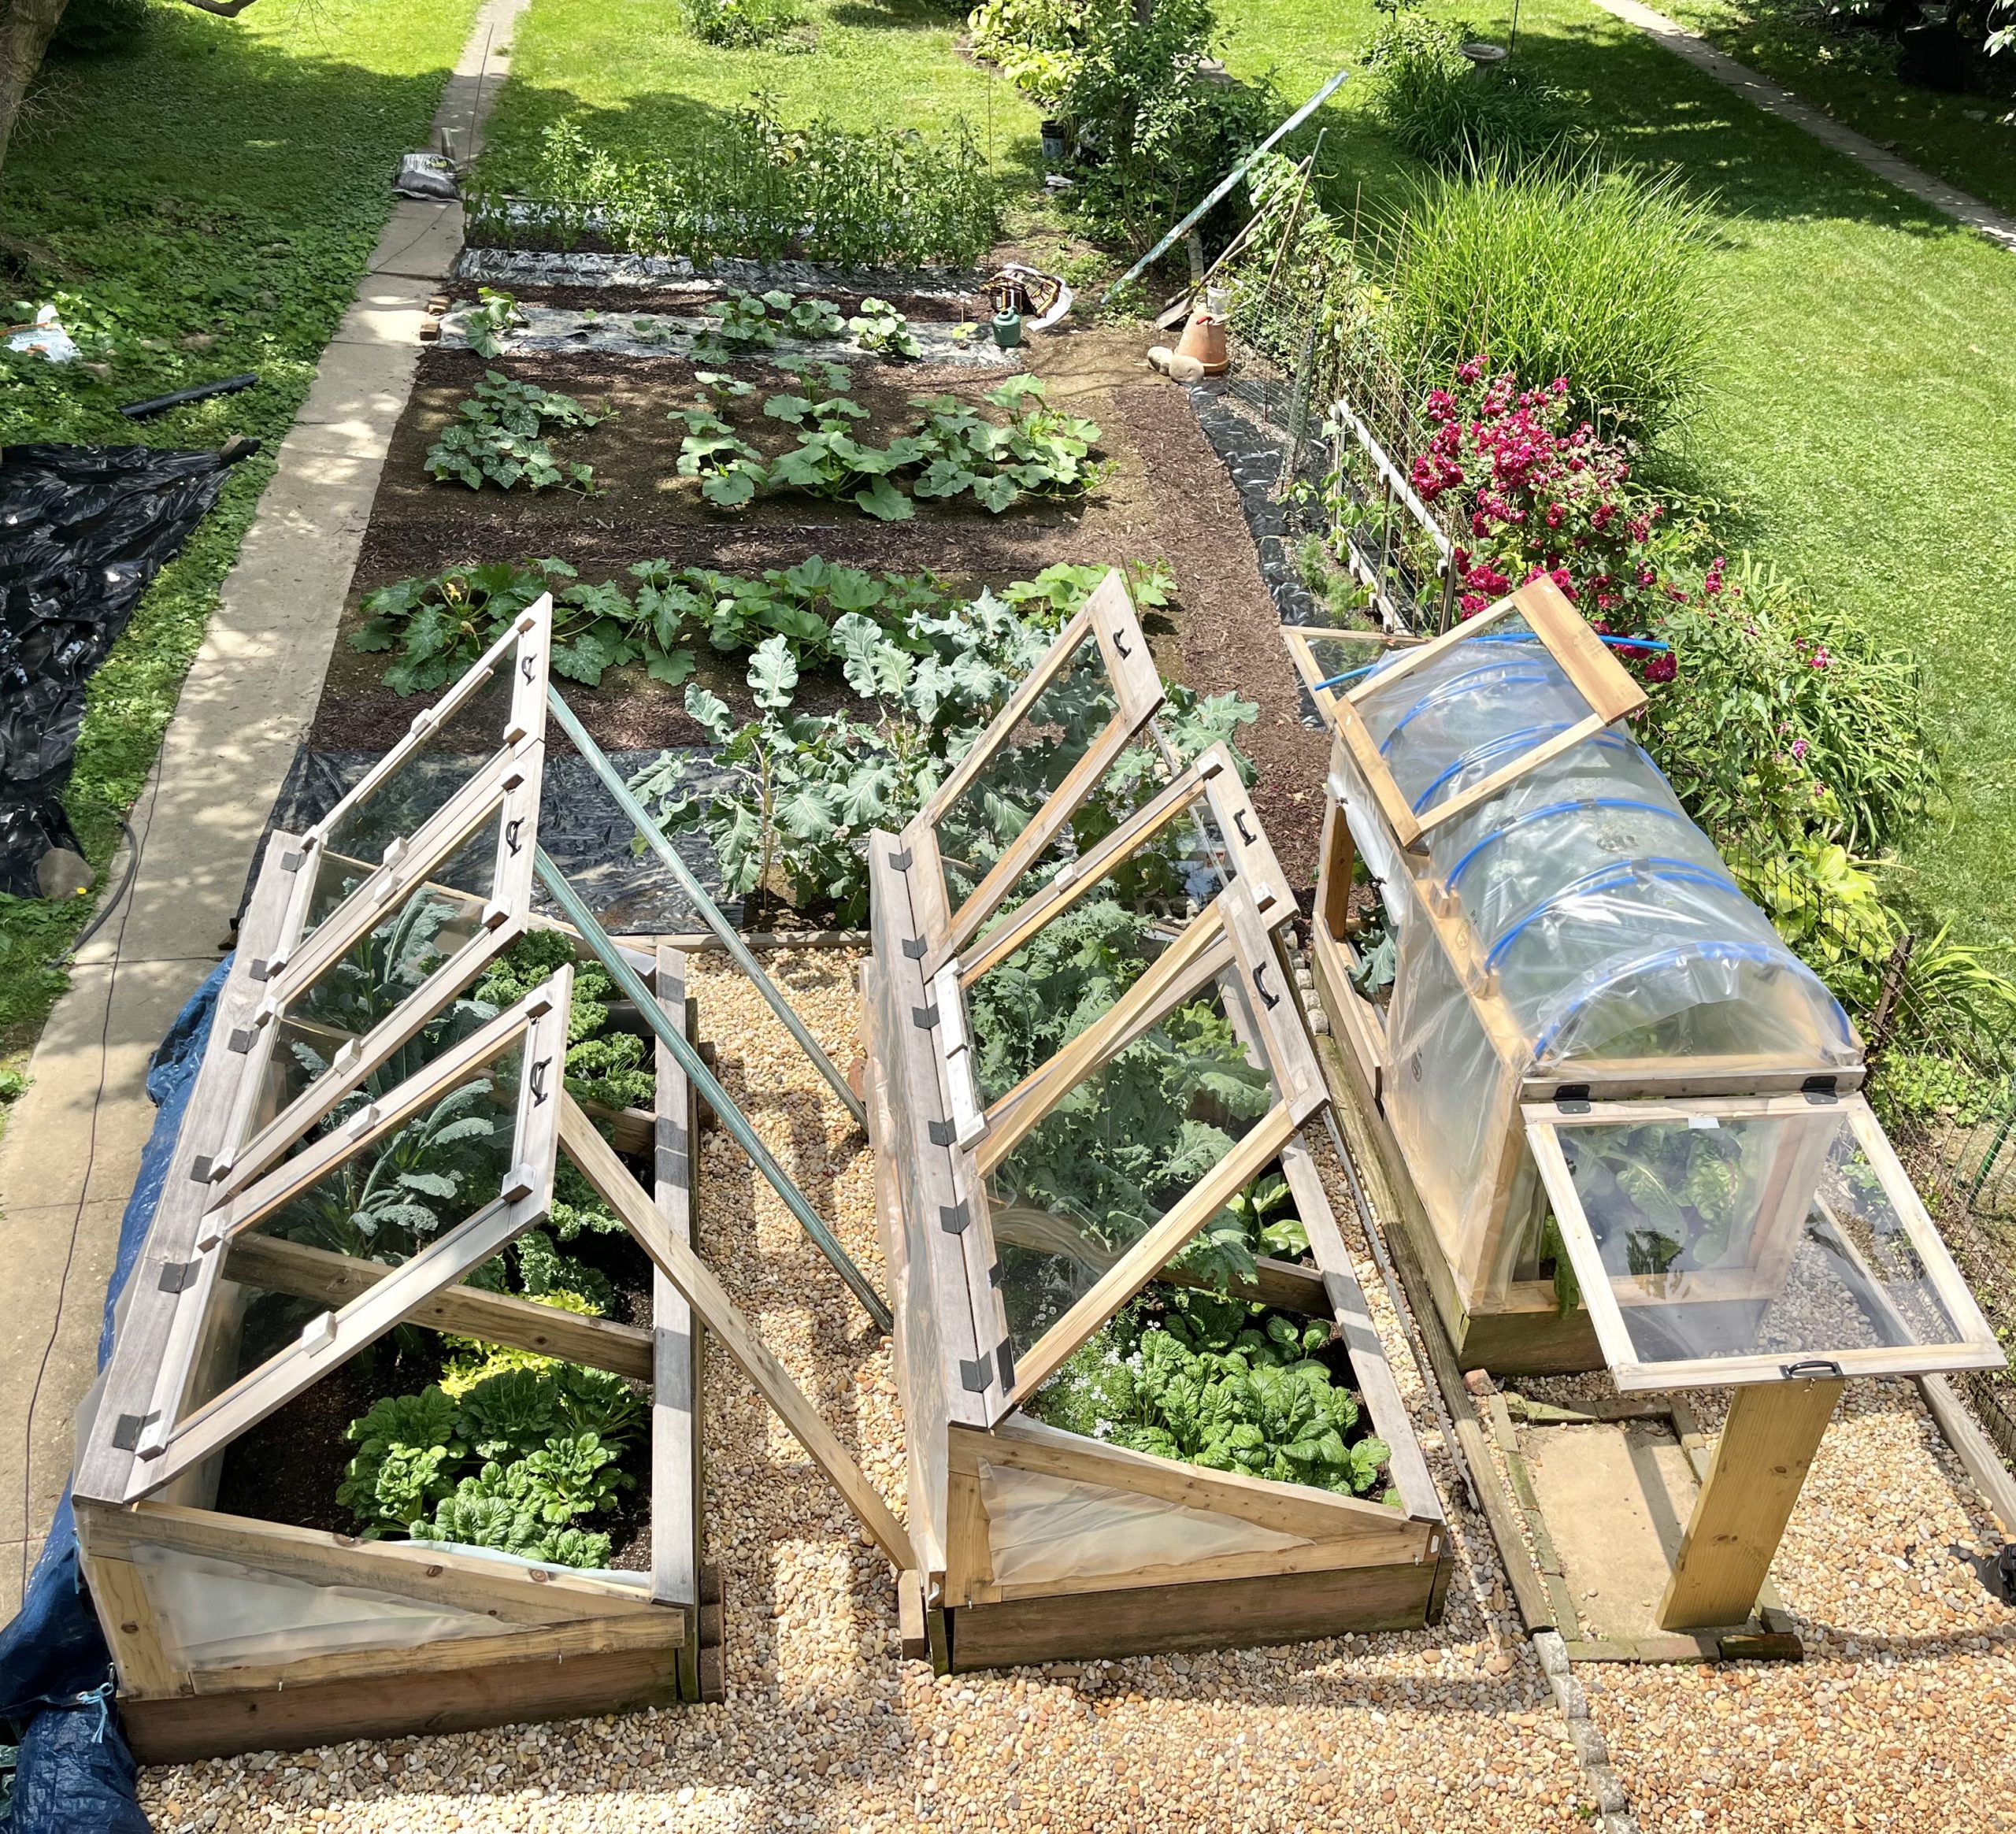
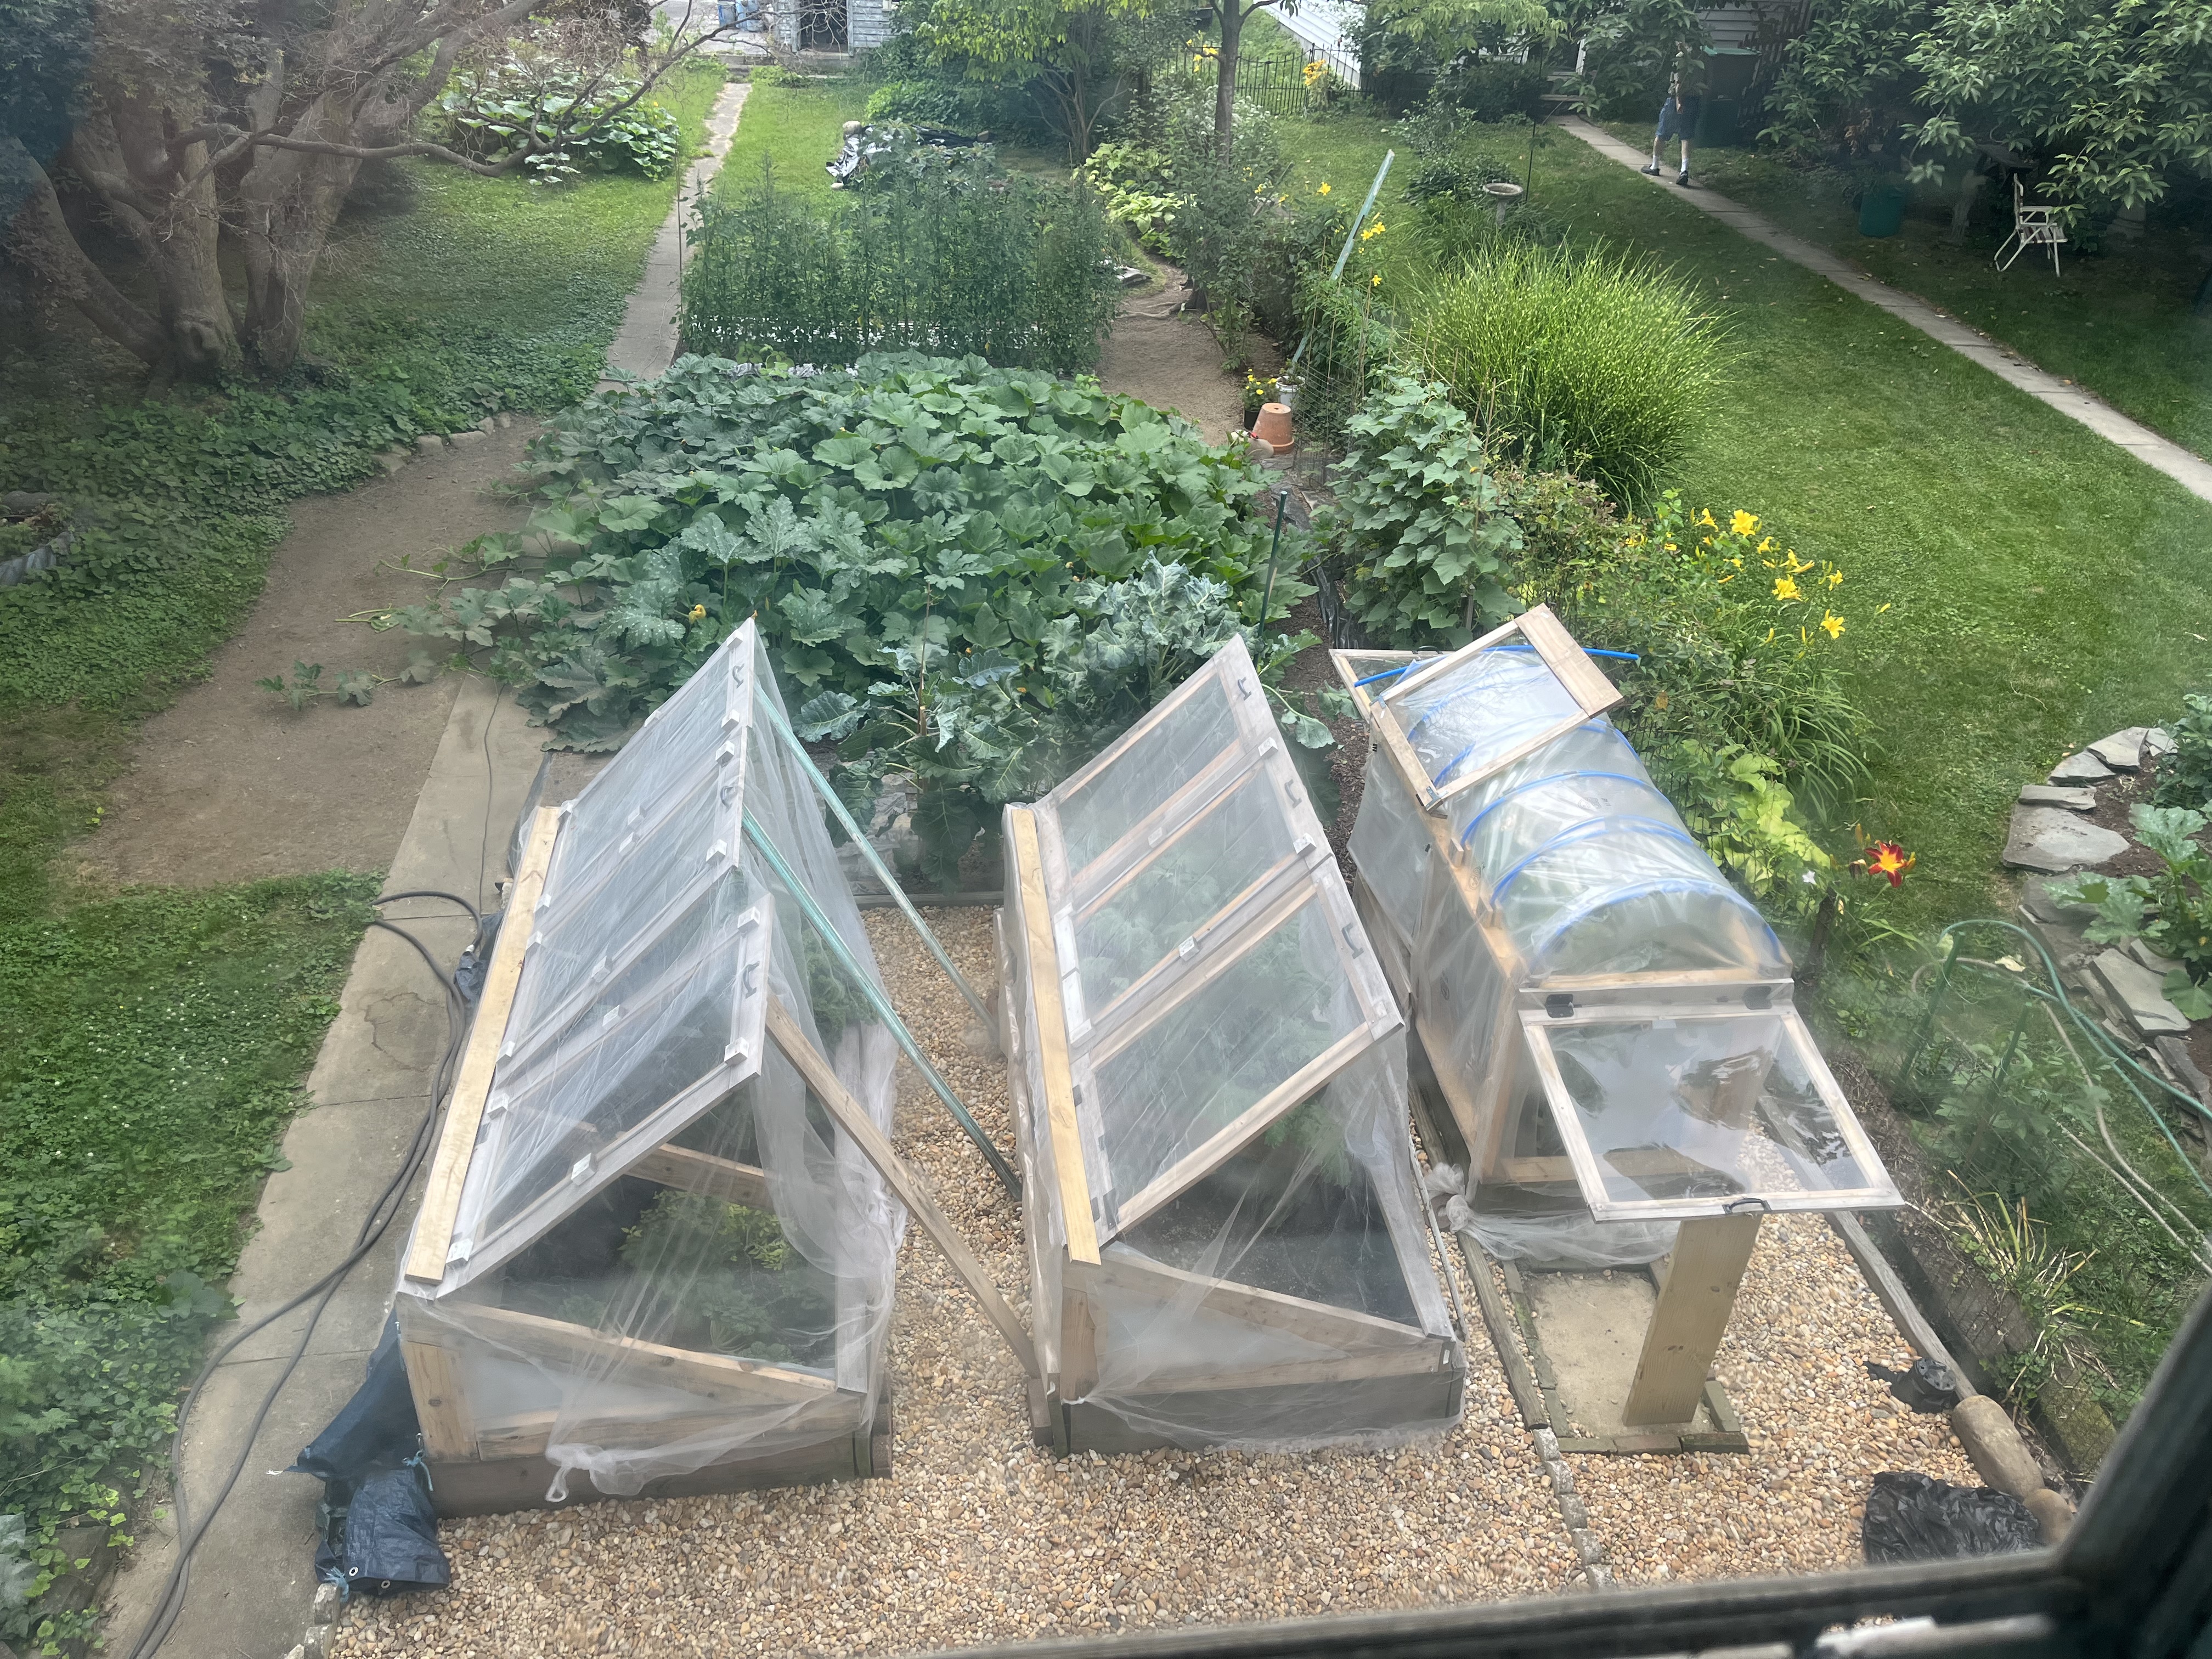
As I write this in December of 2022 my covered boxes/trough are still producing amazing greens albeit with limited production because of the cold. Our nighttime temps are around 25 degrees. There is one species on my farm that thrives in the cold. It is called purple sprouting Broccoli and requires a 4-6 week vernalization period to produce its purple flowerettes. Vernalization is when there is a sustained period of under 50 degrees. The plants are somewhat beat up, but are almost 8ft tall. I am hoping to see some produce by the end of December. The experiment is how long can I keep the outside plants going. What an adventure!
For more information on nutrition check out the posts below. I have been an advocate of intermittent fasting especially as we age. Ori is a dear friend and was a pioneer of intermittent fasting. He also discussed and emphasized the importance of organic/nutrient dense food not poisoned by chemicals and additives.
Learn more about our philosophies check out our site Functional Strength. Join the community sign up below to our newsletter and receive our FREE Planning and Periodization Guide. Please feel free to send us a question here or leave a comment below.
Want the inside training scoop?
Join The Community
Our email content is full of value, void of hype, never pushy, and always free. As a BONUS you will receive our FREE planning & periodization template to help you with your training goals.


